Search This Blog

Showing posts with label sewing project. Show all posts

Thursday, June 23, 2011

Infant Car Seat Canopy


Shortly after Clark graduated from his infant carrier to a big boy car seat (at about 4 months), I started seeing car seat canopies pop up everywhere.  It is such a simple idea, a receiving blanket that attaches to the handle of the carrier.  It keeps the baby nice and cozy during winter months, and keeps strangers from touching those precious little cheeks when you're at the super market.


I knew that I really wanted to make one for baby #2.  I used the fantastic tutorial from Erin of Sutton Grace.  You can find her tutorial here.


I spent lots of time trying to find the right fabric for the cover.  I went back and forth between a few favorite fabrics, but ultimately ended up using this cotton from Riley Blake's Sweet Nothings line.  For the inside of the canopy I used an aqua minky fabric that I absolutely love. I'm quite pleased with how the canopy turned out.  I do wish that I would have added a couple of extra inches in the length, just to cover any gaps that might occur when transporting the carrier.  I'm still debating whether or not I want to add a small window to the front of the canopy.  It wouldn't be hard to do, but I'm not quite sure that it's necessary.


If you have a baby on the way, one on your hip, or are trying to think up a nice baby gift for a friend-I highly recommend an infant carrier canopy.  You could of course purchase one online, but they really don't take much time at all to make.

Thanks for reading.  I know that the majority of my recent posts have been baby related.  I promise that I have in mind to come up with a few different projects.


Tuesday, June 21, 2011

Mitered Corner Cuddle Receiving Blanket


Here's another receiving blanket that I made for our little boy on the way.  It is another mitered corner blanket, you can find my first mitered corner blanket here, and the tutorial here.  This blanket is made with flannel and soft cuddle fabric that I picked up in the remnant bin at Joann's.  I picked up the white cuddle fabric first, and was then left with the task of finding a coordinating flannel that I liked.  

I'm not one that typically selects baby blue for baby boys, but I loved the sweetness of this print from the Nate & Kate Child's Play line. I picked up the flannel at a local quilt shop.  It reminds me of childhood story books, and matches the crib bedding that we have quite nicely.  I think that it will be the perfect little blanket to rock the baby to sleep in.

It was a bit more difficult to sew the cuddle fabric than standard flannel, but it came together pretty well. If you make a similar blanket of your own, just remember not to iron embossed minky, as it will remove those precious little dots that probably convinced you to purchase the fabric in the first place. 

Thanks for reading.

Tuesday, April 19, 2011

Shirr Thing For Spring: Day 2-Shirred Sunsuit for Baby

Shirred Sunsuit For Baby

For Day two of Shirr Week, I decided to share a baby sunsuit.  The shirring is used in basically the same way, gathering in the suit around the chest, but it is also applied around the leg openings.  I love the gathered look around the base of the bloomers. I love the idea of a one piece sunsuit for a crawling baby.

This project is based on the Baby Sunsuit Tutorial, from Rae of Made By Rae.  She is always coming up with clever patterns, and I absolutely love this project.  She provides dimensions to create a 6-12 month sized baby sunsuit, but also gives instructions on creating one to fit your little babe (no matter how small).

 The criss crossing straps on this project will surely help them stay in place.  I am a bit concerned that my straps are too long, I may have measured them incorrectly, but the great thing is that I can always add more button holes.


 Rae used a double gauze for her sunsuit, but I used a regular quilters cotton.  I've had this fabric in my stash for about a year now, and I think that this is a perfect project for it.  Nice and bright for a summer picnic. You absolutely must hop over to Rae's site to see her sunsuit modeled.

I didn't do the jumper any favors by hanging it on a hanger.  When it's worn on a little one it balloons out, and makes for a cute little outfit.


When shirring the legs I made my rows 1/4" apart.  I made three rows so that I was sure to have enough gather.

Wednesday, January 5, 2011

Lined Fleece Hat


Yesterday I promised a tutorial for the lined fleece hat that accompanies the fleece neck warmer.  Here it is.  It is fairly easy and fast to make. Now, this hat is almost 100% inspired by Cheri's upcycled t-shirt hats.  I modified her pattern to adjust the ear flaps, and line the hat. I'm not going to give you a full tutorial on the hat itself, but will show all of the adjustments that were made to end up with this. I'll refer you to her tutorial for the basic construction of the hat.

 This is obviously a different hat than the green and brown hat pictured yesterday.  Hopefully it will prove how versatile this hat is. This cream on cream hat was made for the little girl that I babysit during the week.  I love the flowers and the sequins.


 Rather than put a pom pom on the top of the hat, I opted for another flower.  I think that it is a nice touch.

Here's a quick shot of the hat that I made for Clark.

Now onto the tutorial.

Tuesday, January 4, 2011

Fleece Neck Warmer


My dad made a few Christmas gift requests this year.  One thing that was on his list was a fleece neck warmer.  When the idea was first suggested I was a bit reluctant, I was already feeling overwhelmed with projects, and didn't know that I wanted to spend my time making neck warmers.  

I have to tell you though, once I started I couldn't stop.  I plan on making at least one more for myself.  I've come up with a few different variations, but I'm going to share the most basic and practical version with you.  This is basically a circular scarf.  It is perfect to throw on quickly when going out to shovel the walk, walk the dog, go for a run, or go cross country skiing.

The top photo shows the colorful neck warmer that I made for Clark.  He is Mr. Independent.  He pulls his new fleece hat and neck warmer on all by himself.

Are you interested in making a neck warmer for yourself?  I'll explain how.  


To get started you'll need: 
1 rectangular piece of fleece.  
Adult dimensions: 24"x20" (24x17" for a shorter version)
Toddler dimensions: 19 1/2"x12"
Sewing Machine
Thread
Hand Sewing Needle


Fold you rectangle of fleece in half, matching up long edges with right sides together. Pin in place.  Machine stitch long edge with 1/4" seam allowance. You will now have a long tube.

Turn tube so that right sides are facing out.


 You are now going to make the neck warmer  into the round. I apologize, because it is hard to describe and photograph this part).To do so you first want to match up the seams of your neck warmer.  Pin seams together (not all four layers of fabric). You will be pinning right sides together.


Continue pinning the two layers of fabric together, working around the tube.  It will become difficult to pin the layers together about half way through. Just pin as much as you can.


You are now going to machine stitch the pinned layers of fabric.  Start about 2 inches before the matched seams, and stitch along as far as you can go. Remove pins as you come to them, and adjust the fabric so that you can align and sew unpinned fabric. You will want to leave a 4 inch opening to turn your tube.


 You should have an opening like this.  It will be on the inside of the neck warmer.


Using a needle and thread, stitch the opening closed, folding in raw edges.


To secure the two layers of fabric, I like to stitch 1/4" away from both edges.

There you have it.  A basic fleece neck warmer.  I used Joann's anti-pill fleece for these projects.  I would have preferred blizzard fleece, which doesn't collect as much lint, or cause us much static charge.

 The larger dimensions create a nice long gator, that can be pulled up around the chin and mouth.  The really help you stay nice and warm when outside in the ugly winter weather. My Father-In-Law told me that he was really glad that he had his when he went out running this past week.

I'll be linking here.  Thanks for reading.  I'll share a short tutorial tomorrow on making these double layered fleece hats.

Monday, January 3, 2011

Homemade Christmas Gifts: Part 1


I know that Christmas has past, but I finally feel like I can share the gifts that I made and gave.  We just opened gifts with my parent yesterday, and it's time to share a few things with you.

This is part one of my homemade Christmas gifts.  I have some additional gifts that I'll share with you later this week, but as for today, here are a few that don't currently include tutorials.

For The Neck


I ended up making four bow ties, two for my husband, and two for my brother in law.   My husband has officially declared that he is a bow tie guy, and so I had to add a couple to his collection. You can find the David Bow Tie pattern at burdastyle.com.
For The Hair


I made up a few headbands for my sister-in-law.  She's expecting her first baby, and there's nothing nicer than a headband to make you feel semi-put together at the end of a pregnancy, or after the baby comes.

You can find the leather bow tutorial here, and information on the headband construction here.

For The Kitchen


My Father-in-law has an addiction to tacos, and I don't blame him one single bit.  I'm quite fond of tacos myself.  I made this tortillero for them, so that their tortillas would stay nice and warm at dinner time.  We also gave them a lime press and some freshly made corn tortillas.

Did you miss the tortilla cozy tutorial?  You can find it here.

For The Craft Room

Both of our mothers were given needle books.  I love mine so much, and figured that they would both appreciate a storage book.  I added some simple stacked flowers to dress them up a bit.  Both of our mothers do some sewing, so I knew that they would be used.


  After giving one to my Mother-in-law, we found out that she normally stores her needles in the curtains, hopefully this is a better solution.


Just a few of the quick little projects that I made for Christmas.  I'll have some tutorials and additional Christmas gifts later this week.

Thanks for reading. I'll be linking here.

Feel free to participate in the polls on my side bar.  I really appreciate you input.

Friday, October 29, 2010

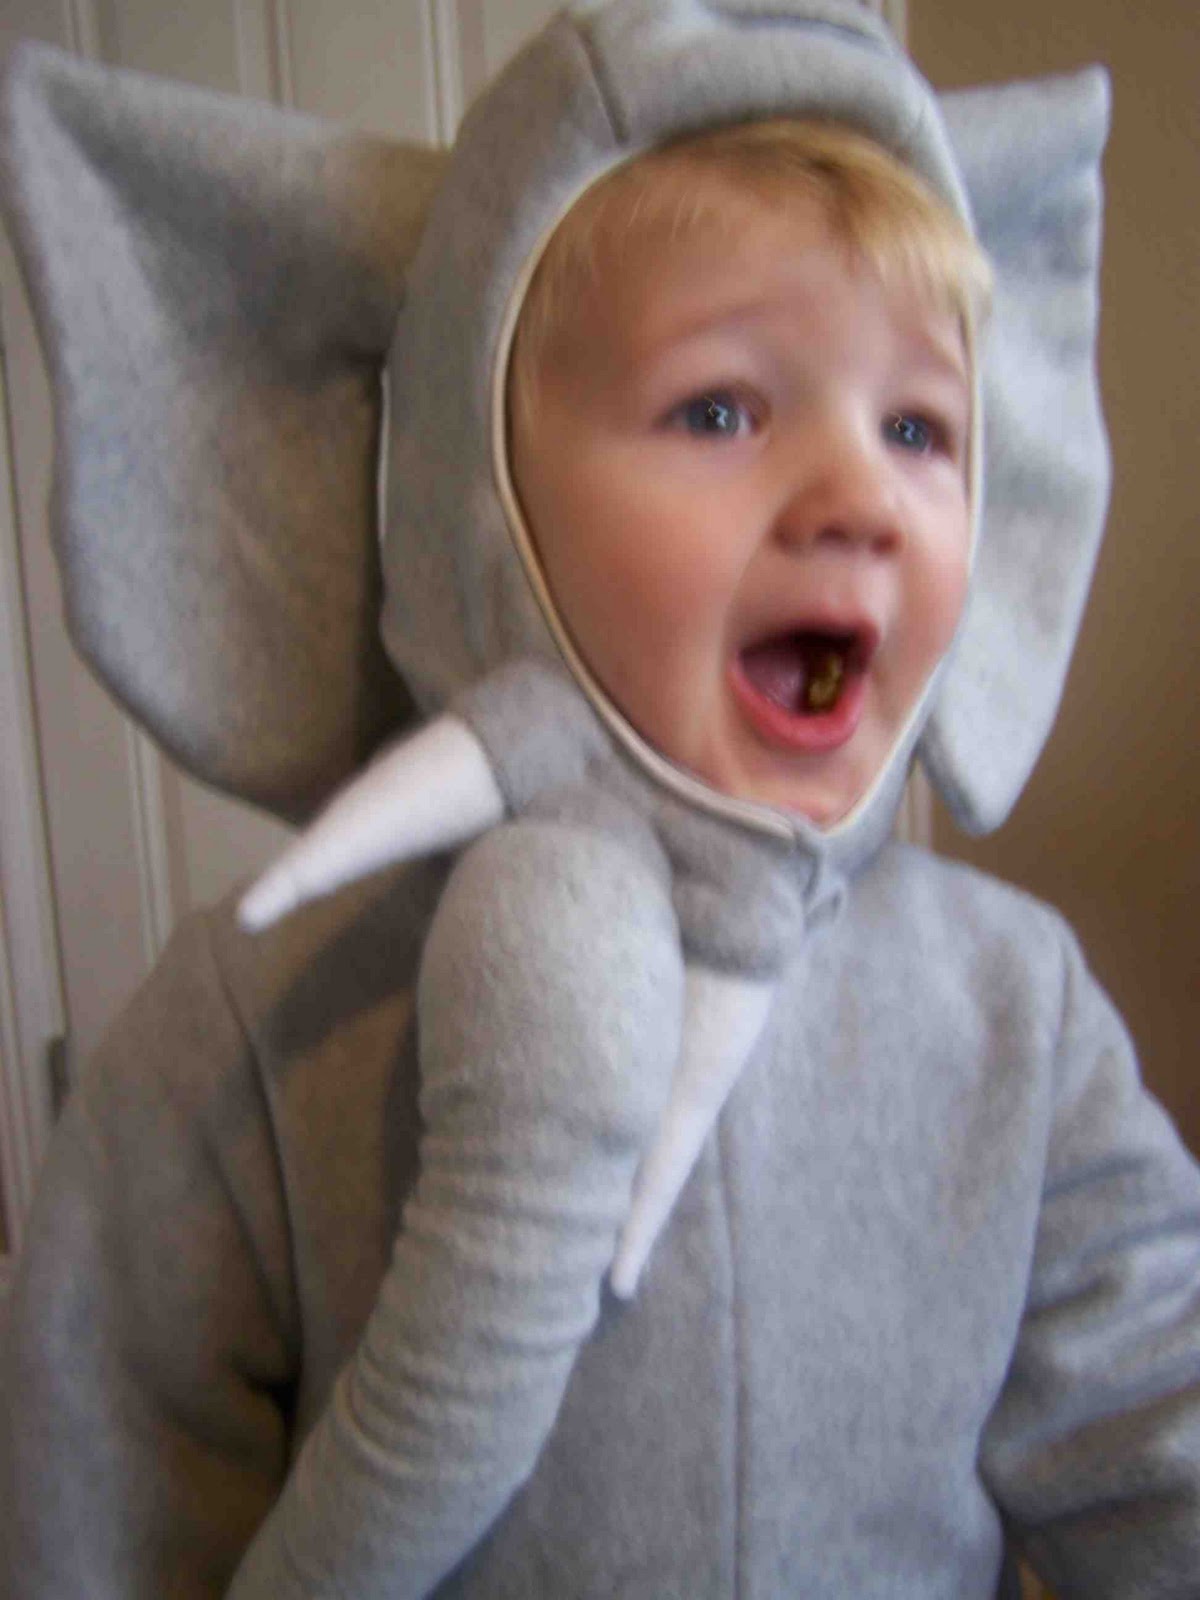
Halloween Costume: Elephant

I love the the legs have extra room, I think that it adds to the effect.


Well I'd hoped that I'd be able to get a few better shots of the costume, but my model was a bit less than cooperative.  I don't have high hopes for this weekend.  I have a feeling that the headpiece will not stay on any longer than thirty seconds. The headpiece was being ripped off in just about every photo (which explains the blurry shots and off centered trunk).


I used the McCall pattern M6105.  It was fairly user friendly, and it turned out how I'd hoped.  I also found that the sizing was fairly true, which was a big relief.  I ended up making the suit and headpiece out of polar fleece.  Idaho Halloweens tend to involve snow, so I figured that I'd play it safe and make it as warm as possible.  My only real regret is lining the headpiece with fleece.  Clark's ginormous head would have probably appreciated a thin knit in place of the added bulk of the fleece.

I ended up finding all of my fleece in the remnant section (while fleece was on sale), making it 75% off-booyah!

I figure that this is the last Halloween that I will be able to choose the costume.  I wanted to make his costume as cute and cuddly as possible.  He makes a pretty cute elephant (complete with elephant noises.

I'll be linking here.


Friday, October 22, 2010

Top-Toberfest Day Five: 'Bot Top


Today I'm sharing this raglan sleeve robot shirt that I made for Clark.  He loves this shirt and lovingly refers to it as his "bot".  I'm sure that it is a lot of fun to dress up little girls in ruffles and lace, but there is something about robots and dinosaurs that warms my heart. I love my little man, and am so pleased that he loves this top.

I had found a free downloadable image of a robot.  I was pretty excited and I showed it to my husband.  I was sure that he'd be pleased that I was going to make a robot related shirt for his boy, but to my surprise, he seemed less than enthused.  As it turns out he was not impressed with the image itself.  He said to me "You can do way better than that", so I set to work and sketched out this quick little robot.  I think that he's pretty cute.

I also made this little BEEP word block.  I placed it on the back of the top, and love the way it turned out.  I transferred the image to the shirt using a freezer paper stencil.  The gray paint is a mix of a white and Night Sky Pearl soft body textile paint from Tulip.  The gray paint had the slightest bit of glitter in the mix, but I think that a bit of sparkle is fitting for a robot.


I added some embroidery floss stitching around the heart, head, and the word block.  I think that it adds a bit of dimension to the top and ties in the colors of the shirt itself.

Because I ended up liking this robot so much I thought that I'd share it with you.  You can access the printable version here.  It is available for personal use only.  I hope that you enjoy it.  I have two little nephews on the way and am planning on making some little robot onesies to welcome them to the world. You could use this image for an applique or a stencil, whatever you need it for.


Thanks so much for stopping by and taking the time to read.  I enjoy your comments and feedback so much.

I'm partying here today.  Don't forget to link up your top related projects to the Top-toberfest show and tell.


Thursday, October 21, 2010

Top-Toberfest Day Four: Cowl Neck T-shirt


Image Source: Gap.com


Day four of Top-Toberfest is this lovely green on green striped cowl neck tee. After searching for inspiration online I found this simple little beauty from Gap.  I love that it is clean, yet the cowl gives it just a enough detail that you look a bit more dressed up. 


Making a cowl neck seemed like an easy enough project, but after thinking through the process I realized that I needed some help.  I searched through the internet for some helpful advice, and I found this awesome tutorial on cowl neck pattern drafting from Cute Confessions of a Sew Addict.  You can use this technique with any pattern that you have on hand, but I worked from a pattern made from an existing shirt (shocker I know).  

The shirt that I used wasn't even exactly like this, but it gave me some good reference marks.  I liked the way that my existing shirt fit through the torso, but I had to raise the neckline, and modify the sleeves. I used my pattern created from the first shirt to add in fabric for the cowl (see tutorial here).  I also made a back facing pattern piece so that I could have a finished edge for the back of the neckline. I'll share some details below.