


If you saw my post yesterday on Clark's rocket ship quilt, you may have noticed that his quilt in no way incorporates his wall color. Most people would probably just repaint the walls, but I actually love the color of his walls, and don't have the energy or desire to repaint them at this time.
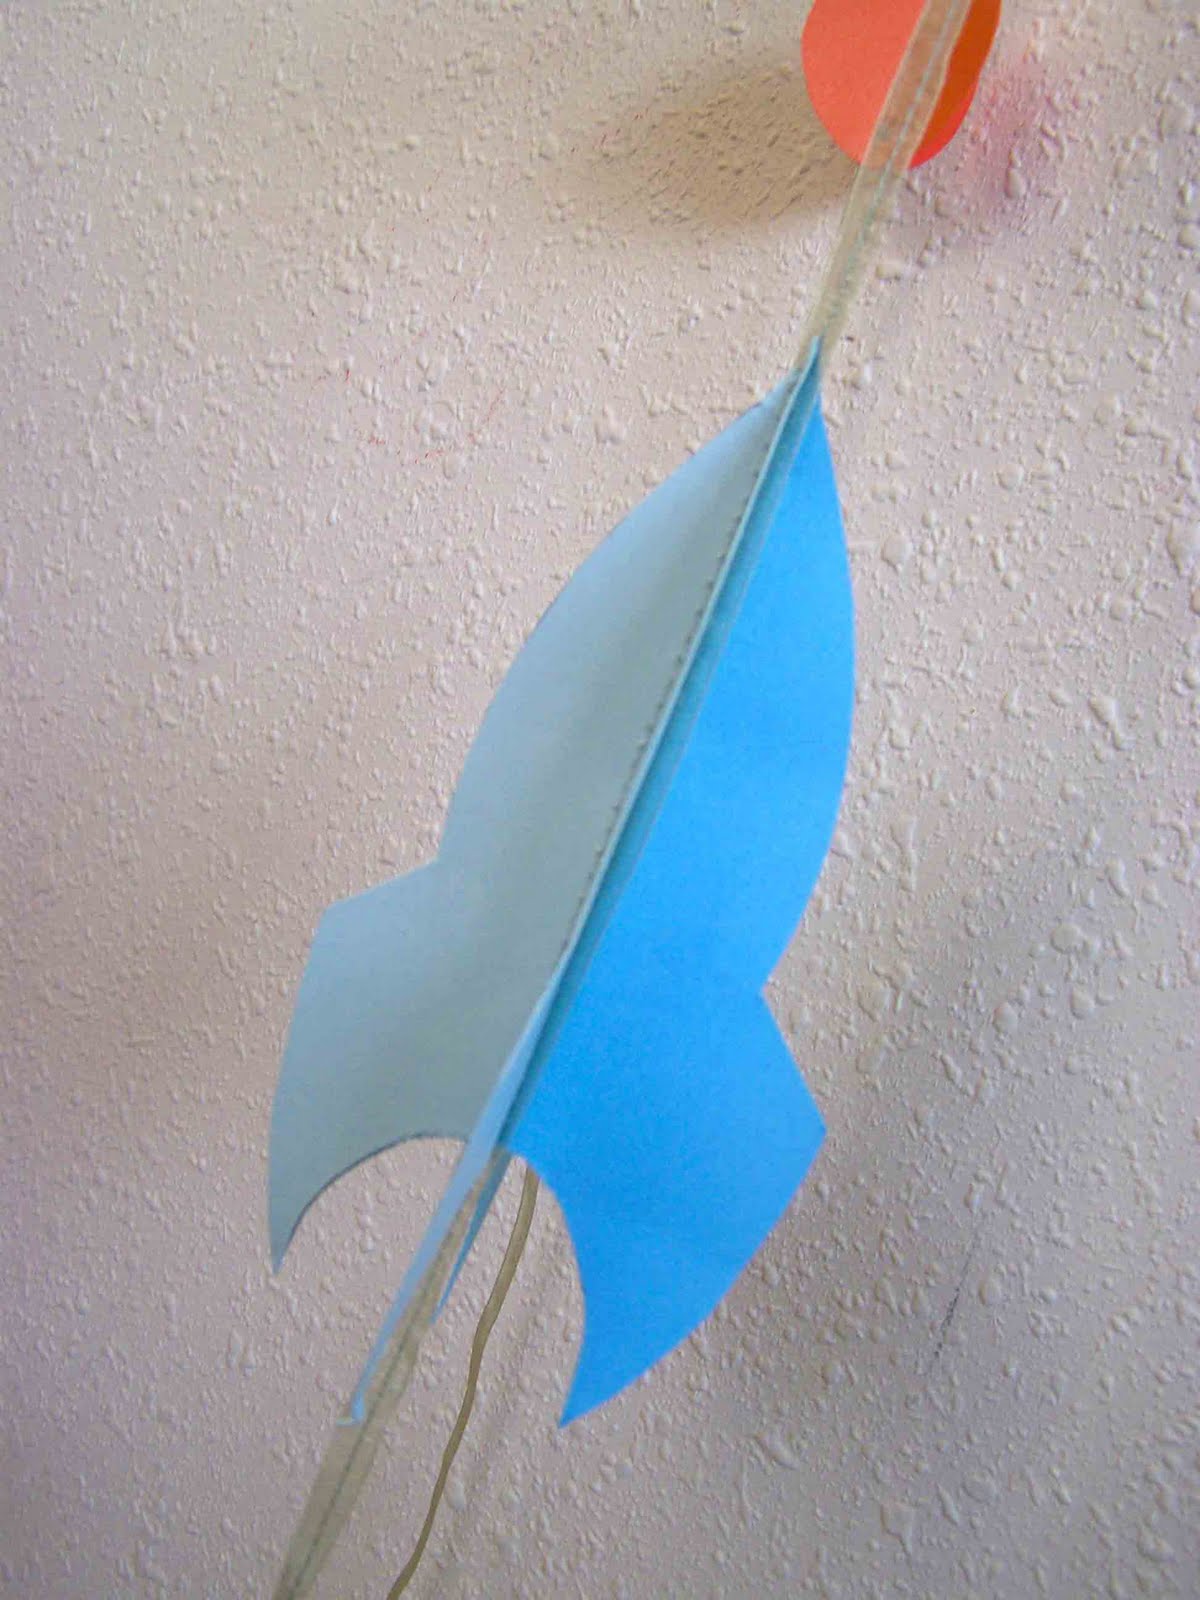
So in an effort to bring a bit of color harmony to his room, I created a few simple wall hangings to try to tie things together. The first project was this paper garland. I ran to Michael's, and picked up several different colors of card stock (including the colors in his quilt and his wall color). I made sure to get two different shades of each color. I then made up some really simple templates of circles and stars in a couple of different sizes in Photoshop. I designed my own rocket ship template and I was ready to go.
I cut out several shapes of each color. Each individual shape on the garland required two separate shapes (I used one of each shade). Each shape was then folded in half lengthwise. When all of my pieces were traced, cut out, and folded, I arranged them in the desired sequence. I then got a long piece of ribbon, sandwiched it between the two pieces of folded paper, and stitched down the gutter.

When sewing the garland together I used a long stitch length to avoid having the paper tear. None of my shapes are perfectly spaced, but I think that it works. When all of your shapes are sewn to the ribbon you can press the shapes open with your fingers so that they are a bit more dimensional. The varied shades of color give it a bit of depth as well.
This project was only tedious because I didn't have any sort of cutting machine. If you have a silhouette or other similar product, this project could come together much faster.

The second project that I came up with was a small wall hanging for his room. Subway art has been a big thing the past couple of years. To be quite honest I am not always a fan, but it was easy to make, and easy to incorporate the colors, and some other rocket/outer space items to bring the room together. In Photoshop I simply added different layers of text in varying fonts, sizes, and colors. I also scanned a little bit of the fabric from Clark's quilt and selected the rocket, planet, and stars to incorporate in the piece. It was a super simple project. I'm sure that it's one that will be thrown out in a couple of years, but when you only spend a half hour on it, and pennies for the paper and ink, you can't expect it to last forever.

One of my goals was to have Clark's room put together before the baby comes. I knew that if I waited until after his arrival that the quilt would never be finished. We'd been using his convertible crib as a toddler bed, so when we upgraded to a twin size bed new bedding was required. I had the rocket ship material on hand, and so it became his quilt. The quilt necessitated the new room decor, but I have to say that we are all quite pleased. It is sad to see my little baby moving into a big boy bed, and bedroom, but it's been fun.
Thanks for reading.


