Accessories for little boys are limited, and after three boys, I am feeling the need to accessorize. Pair that with the fact that he's constantly dribbling down his chin, and this is a perfectly satisfying quick sew.
You've probably seen bandana dribble bibs before, but I happen to think mine are the cutest (yep, I said it). These little bandanas cowl at the neck, and have a fun closure that looks like it's tied. So adorable. No matter which way the bandana shifts, it still looks cute.
Want to make some? I've got a tutorial and free pattern for you today! Don't want to make your own? I just listed a second
set of baby bandana bibs in my
etsy shop, get them while you can.
Materials
1/3 yard exterior fabric (I used a soft cotton flannel from
Riley Blake's Sasparilla line)
1/3 yard lining (I used a sweatshirt fleece, but a knit, terry cloth, or flannel would all work)
Coordinating thread
Seam Ripper
Iron
Button Hole presser foot (optional)
Printable Bandana bib pattern (Personal/Non-commercial use only)
Cut out your
pattern pieces, and tape together matching up triangles.
Fold your fabric in half, and align the pattern with the fold to cut out your bandana pieces. Repeat with lining fabric.
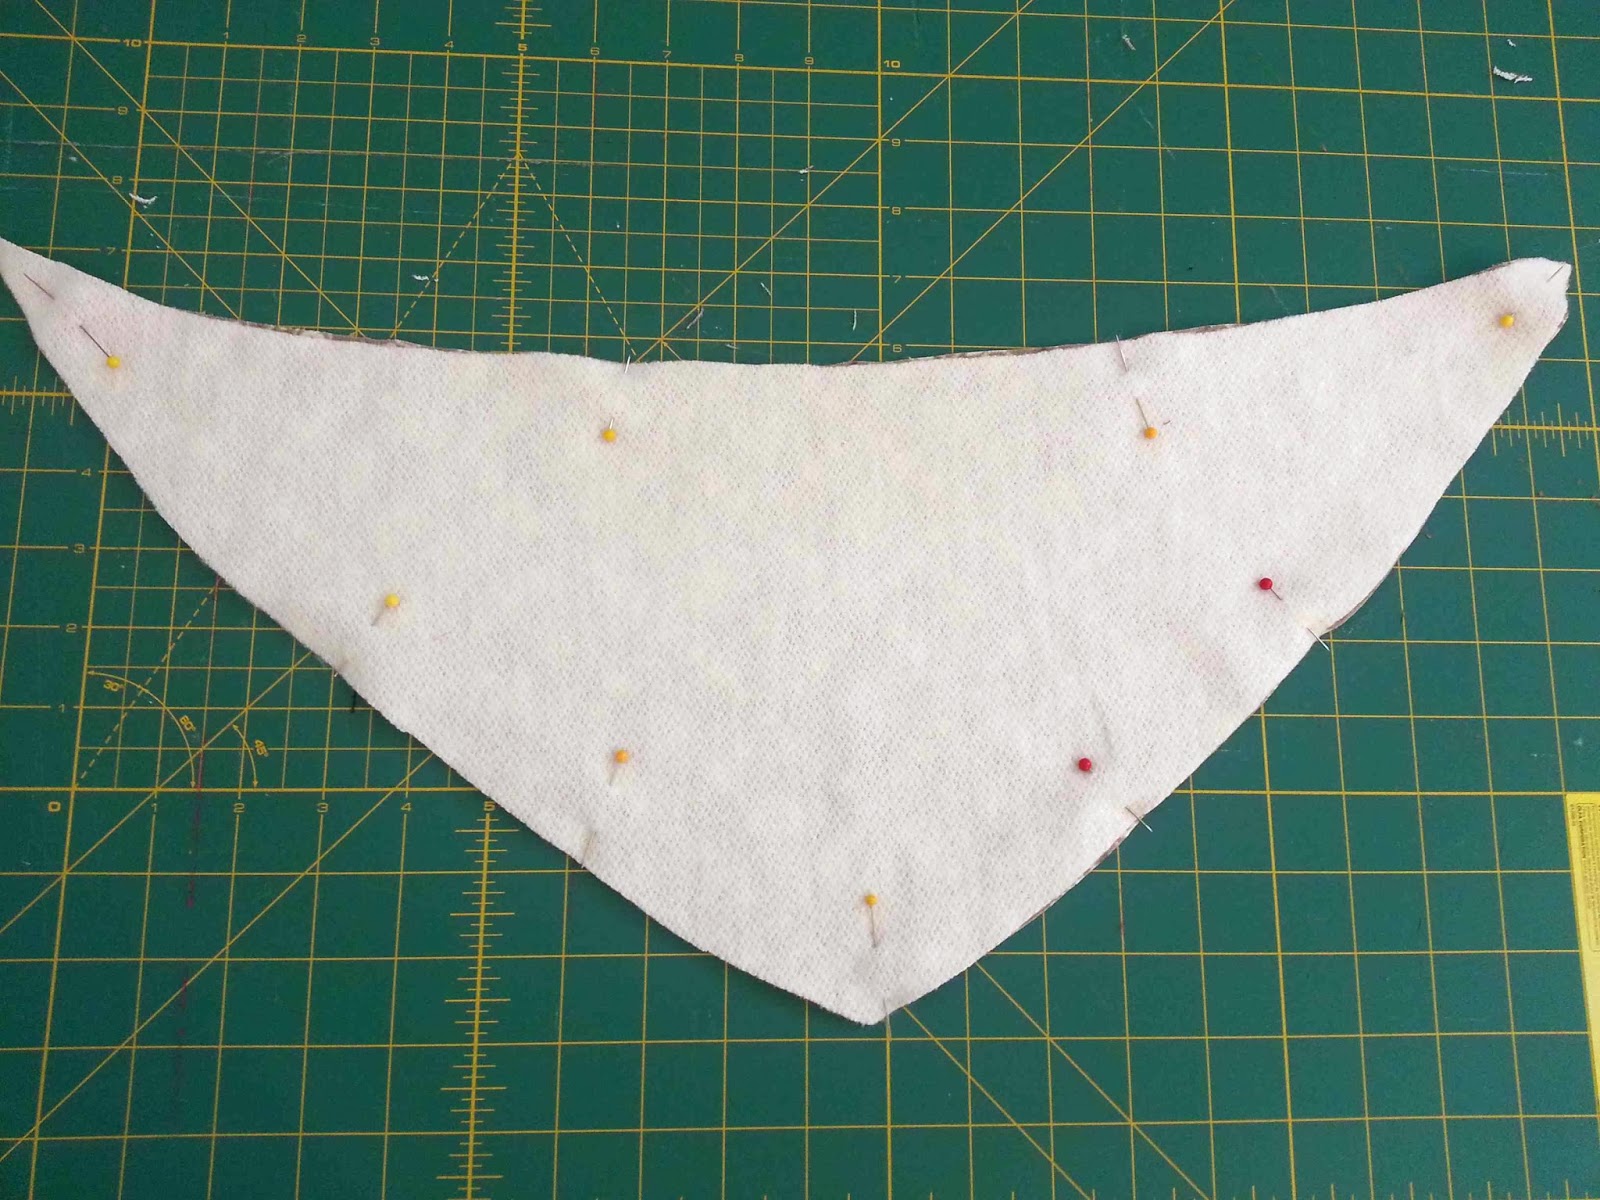
Place your exterior and lining pieces right sides together, and pin in place. Mark the area to be left open (see pattern) with a marking pencil, or different colored pins.
Sew around your bandana, starting and stopping your seams according to the pattern markings. The pattern allows for 3/8" seam allowance. You should be left with an un-sewn area for turning your bandana right side out.
Clip the three corners of your bandana, making sure not to clip through your seam line. This will reduce the seam allowance bulk, and make for sharper points on the finished bandana.
Reach into the un-sewn portion of the bandana, and pull the material right side out. Make sure that your points are nice and sharp at the corners.
Press with a hot iron, making sure that the open edges of the bandana are turned inward.
Topstitch around your bandana, 1/4" from the edge. This should secure your un-sewn area.
On one tie end of the bandana, fold the tie in half. Measure four inches from the tip of the tie and mark.
Adjust your button holing foot to allow for a 5/8" button. Attach the button hole foot to your machine, and adjust machine settings. (Read more about
sewing button holes)
Line up your button hole foot with the 4" mark, sew your button hole.
Ah, a thing of beauty.
Use your seam ripper to open up the button hole.

Your finished bandana should look like this. The tie end opposite the button hole will be pulled through the button hole to secure the bandana.
So cute, right? If you're button hole is too large, the tie could slip too far, and make the bandana too tight.
Tie around your favorite little cow poke, and catch those rascally dribbles. They'll keep your dear ones dry, and make them absolutely irresistible.
Buy your own
set of red and grey bandana bibs in my
etsy shop (SOLD OUT). Check out my
Dribble Bib-danas for sale in my
Etsy shop!