Search This Blog

Showing posts with label Paper Crafts. Show all posts

Thursday, June 16, 2011

Rocket Ship Room: Paper Garland and Wall Hanging


If you saw my post yesterday on Clark's rocket ship quilt, you may have noticed that his quilt in no way incorporates his wall color.  Most people would probably just repaint the walls, but I actually love the color of his walls, and don't have the energy or desire to repaint them at this time.
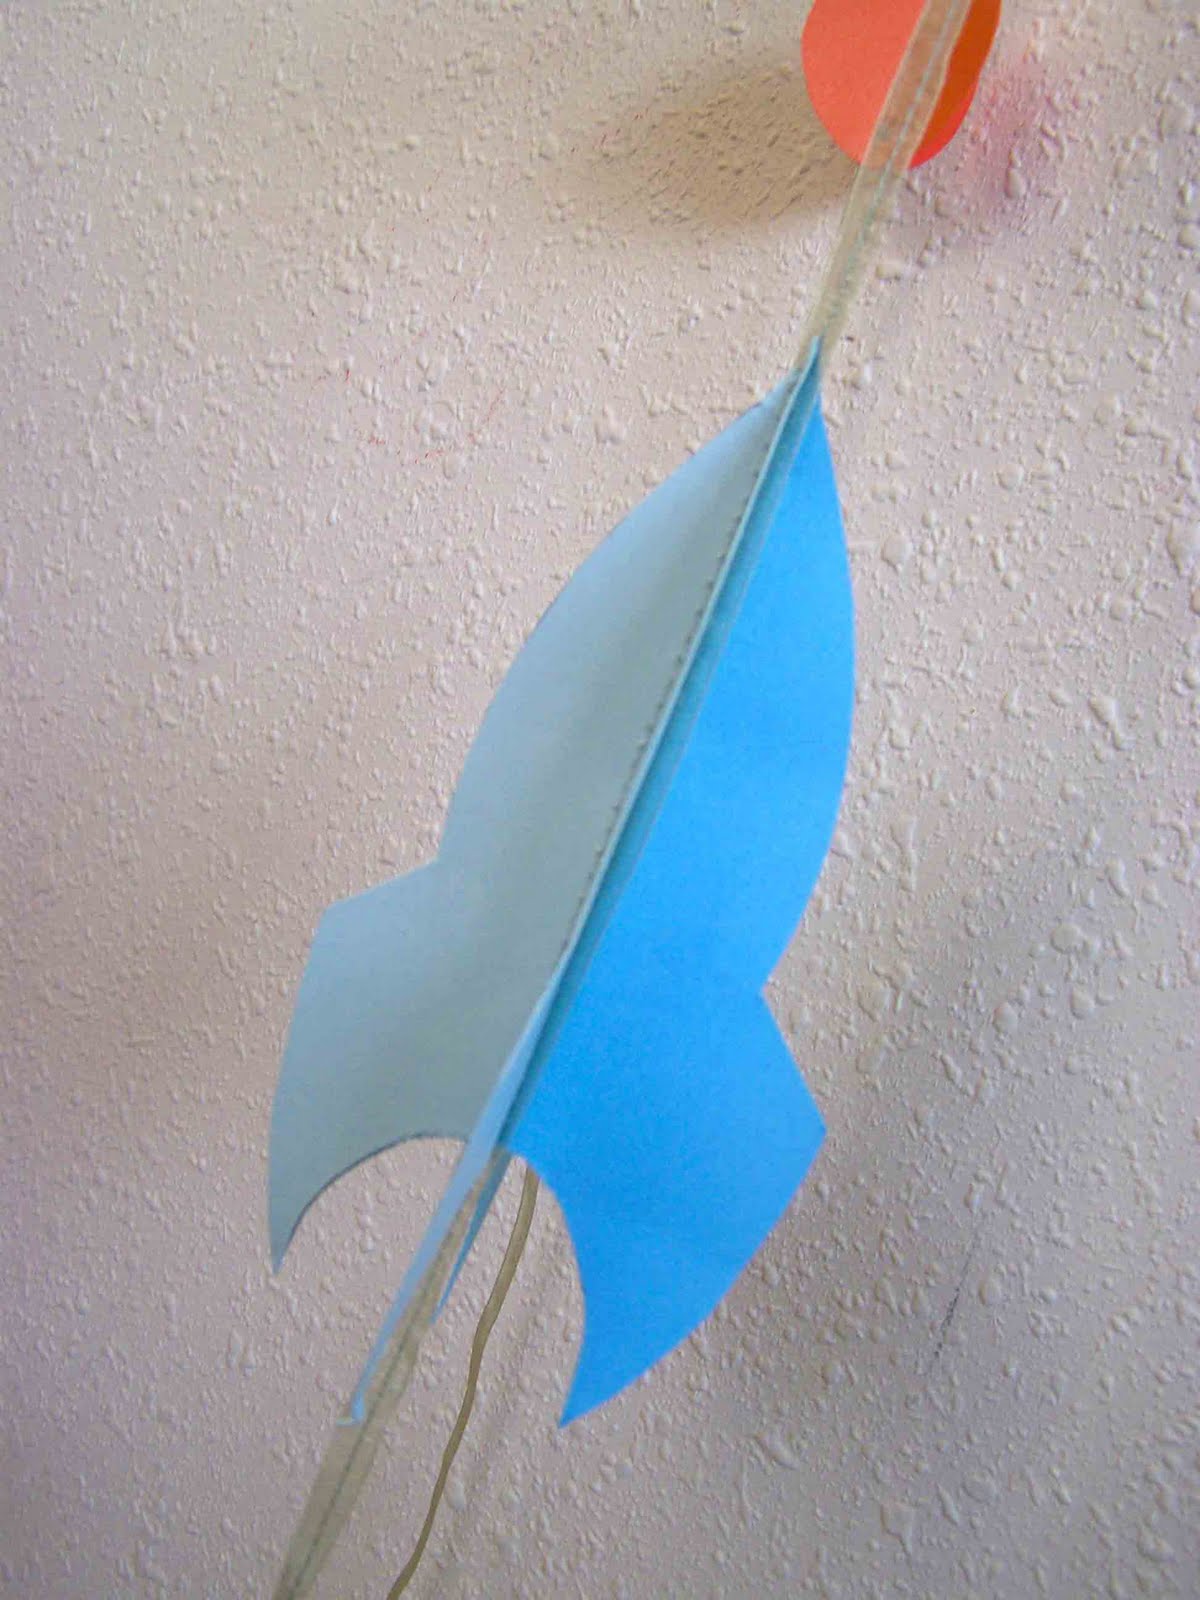

So in an effort to bring a bit of color harmony to his room, I created a few simple wall hangings to try to tie things together. The first project was this paper garland.  I ran to Michael's, and picked up several different colors of card stock (including the colors in his quilt and his wall color).  I made sure to get two different shades of each color.  I then made up some really simple templates of circles and stars in a couple of different sizes in Photoshop.  I designed my own rocket  ship template and I was ready to go.

I cut out several shapes of each color.  Each individual shape on the garland required two separate shapes (I used one of each shade). Each shape was then folded in half lengthwise.  When all of my pieces were traced, cut out, and folded, I arranged them in the desired sequence.  I then got a long piece of ribbon, sandwiched it between the two pieces of folded paper, and stitched down the gutter.  


When sewing the garland together I used a long stitch length to avoid having the paper tear.  None of my shapes are perfectly spaced, but I think that it works.  When all of your shapes are sewn to the ribbon you can press the shapes open with your fingers so that they are a bit more dimensional.  The varied shades of color give it a bit of depth as well.

This project was only tedious because I didn't have any sort of cutting machine.  If you have a silhouette or other similar product, this project could come together much faster.


The second project that I came up with was a small wall hanging for his room.  Subway art has been a big thing the past couple of years.  To be quite honest I am not always a fan, but it was easy to make, and easy to incorporate the colors, and some other rocket/outer space items to bring the room together.  In Photoshop I simply added different layers of text in varying fonts, sizes, and colors.  I also scanned a little bit of the fabric from Clark's quilt and selected the rocket, planet, and stars to incorporate in the piece.  It was a super simple project.  I'm sure that it's one that will be thrown out in a couple of years, but when you only spend a half hour on it, and pennies for the paper and ink, you can't expect it to last forever.


 One of my goals was to have Clark's room put together before the baby comes. I knew that if I waited until after his arrival that the quilt would never be finished. We'd been using his convertible crib as a toddler bed, so when we upgraded to a twin size bed new bedding was required.  I had the rocket ship material on hand, and so it became his quilt.  The quilt necessitated the new room decor, but I have to say that we are all quite pleased. It is sad to see my little baby moving into a big boy bed, and bedroom, but it's been fun.

Thanks for reading.


Wednesday, November 10, 2010

Quick and Easy Vinyl and Paper Card Wallet


 Today I thought that I'd share a tutorial with you.  This particular tutorial is for a paper and vinyl card wallet.  It is perfect for storing business cards, or debit and credit cards.  I whipped up several of these this past weekend (before my sewing machine decided to quit on me).  They are really quick and easy to make, and they are super inexpensive.


I plan on giving these to a few of the girls that I work with at church for their birthday presents.   I figure that it will be a nice place for the girls to keep their lunch money, student ID's, and their drivers licenses.

They would make fantastic stocking stuffers as well. You could tuck in a gift card to someone's favorite restaurant or store.

For the full tutorial click read more below.

Wednesday, September 1, 2010

How to make a Mod Podged Puzzle


The puzzle pieces aren't laying flat in this picture, the pieces do fit together nicely normally.
We are kicking off Stashbusting September with this wonderful Mod Podged Puzzle.  I have several white backer boards that I use for mailing my prints, unfortunately I have several that are a bit beaten up.  I chose to make this simple little puzzle with my battered boards, and an irregularly formatted print of Meadow Moose.

I thought that it would be fun to have a few more simple puzzles in the house.  I chose to make an eight piece puzzle, but of course you could increase or decrease the number of pieces to fit your families needs.

Want to learn how to make it?  Buckle up and let's go. 

Friday, July 23, 2010

How to Make Paper Award Ribbons


Ribbons for the oldest runner (most likely my dad), and the first woman runner.


Things are getting pretty busy around here.  I am gearing up for girl's camp next week, I am attempting to turn out a quiet book in record time, and the next three days are going to be devoted to a family reunion.  I am not quite sure how I am going to get things done.  I had intended on posting about how to sew with knits today, but I think that I will save that for when I get back from girl's camp.

I mentioned the family reunion, well my parents are planning it this year, and my dad organized a family fun run as part of the festivities.  My mom thought that ribbons were necessary.  I was given the responsibility with coming up with some sort of image for an award and some simple ribbons.  This is what I came up with.

I designed a simple medallion for the center of the ribbon using Photoshop, but you could do the same thing in most photo editing programs.  Because this is a Marshall family reunion I designed the medallion to look a bit like a Marshal badge.  I printed 6 off on a page and I was ready to go.  I searched through my box of old scrapbooking supplies and found several sheets of colored scrapbooking paper.  I used medium weight paper (not card stock) for this project.

Now lets get started.

To make one paper ribbon you will need:

2-3 sheets of medium weight scrapbooking paper
1 3 1/2" paper medallion printed as desired (birthday boy, princess, 1st place, last place, ect.)
2 paper tails for you ribbon (mine are 1 1/2" wide and about 6" long.
Glue stick or other adhesive
Tape
Bone folder *optional

Cut out  five 6" circles, I could get 4 out of a 12x12" sheet, or two from an 8 1/2x11.  Cut two tails from your remaining scraps of paper,  Cut a notch out of each end of your tails.

Fold in Half
Fold In Half Other Direction

Now we are going to fold our paper.  If you follow Make it and Love it, or Kojo Designs, they have used a similar folding technique in recent projects.  You will start by folding 4 of the 5 circles in half one way, and then in half the other way.  Your circle will be divided into equal quarters. You can use your bone folder to make your folds nice and crisp.


Push two sides in towards center and flatten


Now take two of the quarters of your circle and push them in towards the center of the circle.  Your new folds should meet up in the center.  Push your top quarter down on town and crease your new folds.  You should now have a wedge shaped piece of paper (when folded).  Now you could stop here, but you can continue on if you want your ribbon to look like mine.

Outer creases are bottom creases, middle crease is adjusted, and center is newly created.
This is a poor diagram to show the placement of the folds on the circle, but maybe it will help.

Now this is the portion that I don't really know how to explain.  You are going to adjust your folds and create an additional pleat so that your ribbon ends up looking like this.  Take the top side of your newly folded wedge piece of paper and adjust the edges so that they are slightly set in  from the creases on the bottom side of your wedge.  You will need to make new creases.  Now you will take the extra paper from your adjusted top pleat and make an additional pleat to sit on top.  This takes a bit of adjustment.  I wish that I had a better way to verbalize the process, but each ribbon was a bit of trial and error so I can't quite explain it properly.  Your wedge should maintain it's original size (which is a quarter circle).  When I unfolded one wedge it appeared to have 10 folding creases.  So maybe that will provide you with a bit of insight.

Front
Back-This is how your ribbon will look if you don't complete the last folding step.

You will repeat each of these steps on a total of four of your circles.  When you have four folded you will attach them in the center with a small piece of tape on front and back.

Now take your adhesive and glue your medallion to the center of the front of your medallion.

Take your two ribbon tails and secure them to the remaining 6" circle.  Mine overlapped the circle by about 1 1/2".

Apply adhesive to the paper circle and overlapped portion of the tails.  You will now attach your "bloom".  Press down your bloom and medallion so that they are securely attached.
1st, 2nd, and 3rd

You are done!  Now you can give away your beautiful paper ribbons at your family's fun run....if there is anyone else out there that does that.

If you are done and you didn't end up with a beautiful ribbon let me know.  I'd be happy to attempt to answer any questions.


Monday, July 12, 2010

How To Make a Jacob's Ladder Out of Paint Swatches


My husband and I have quite a large collection of paint swatches.  I acquired quite a large stash when we were engaged and I was choosing our wedding colors.  I added to the collection when we bought our home and chose wall colors.  I wouldn't say that I am a pack rat, but I do have a difficult time throwing away things that I know that I can repurpose.  Just the other day I was going through the paint swatches with my son as we were talking about colors.  I love these Dutch boy swatches because they have small openings in the side.  I'd ask him to find something that was a specific color and we'd place the paint swatch window on different objects until we found something that was the same color.  While we were doing this activity I decided that it would be fun to make a Jacob's ladder out of them.  They are just the right size and shape.  I'd made a Jacob's ladder once before and had really enjoyed the project.  I thought that you might want to make one with your family as well.

This project can be made with using mostly scrap materials.  You will need paper of some sort, this could be family photos, paint swatches, magazine pages, scrap book paper, coloring book pages, ect.  You will also need some board to adhere your paper to.  You can use book board, illustration board, wood boards cut to size, but I used some old mat board that I had on hand. You will also need glue of some type (PVA or a tacky craft glue), tape, and three strands or ribbon.

If you want to give this project a try you can find my instructions here.  If you have questions let me know. As I was writing up the instructions I realized that I failed to take a couple of pictures...so if there is any confusion I'd be happy to answer any questions.


I thought that this Jacob's ladder project was a fun way to introduce my son to colors.  When I showed it to my husband he said...oh cute you put warm colors on one side and cool colors on the other side (I've taught him so much).