


We are going to finish up the skirt today-Wahoo. I'm probably as sick of typing up this tutorial as you are of seeing it pop up in your reader. The finished product is going to be well worth the work, and the good news is that there aren't any mathematical formulas in this section of the tutorial. Now, let's get on with it.

With the waistband facing, you are going to press the lower raw edge under 1/2". Press along the length of the waistband.
Now place the waistband, and the the waistband facing right sides together. Pin along the top edge, and sew using a 5/8" seam allowance.

Pin your front and back skirt panels together along one side seam. Match up stripes. Sew using a 5/8" seam allowance, and finish edges.

Attach your waistband to the skirt by pinning the lower edge of the waistband to the upper edge of the skirt, with raw edges matched up, and right sides together. Line up side seams. Use a 5/8" seam allowance to sew seam. Press seam up toward the waistband, and press seam on the right side of the skirt.

It's invisible zipper time! Invisible zippers are really easy to install if you have the proper equipment. Invisible zipper feet help guide the edge of the zipper as it feeds through your machine. You can pick up a plastic invisible zipper foot at most craft/fabric stores. I ordered mine through Amazon, and found the zipper foot specific to my sewing machine make.
For the actual invisible zipper installation I am going to refer you to this tutorial on installing an invisible zipper by Coletterie.

We are going to install our zipper into our open seam side of the skirt. To prep the side of the skirt, press the raw edges toward the wrong side of the fabric 5/8". Repeat on both raw edges, and along the entire length of the waistband, and the top 10" of the skirt.
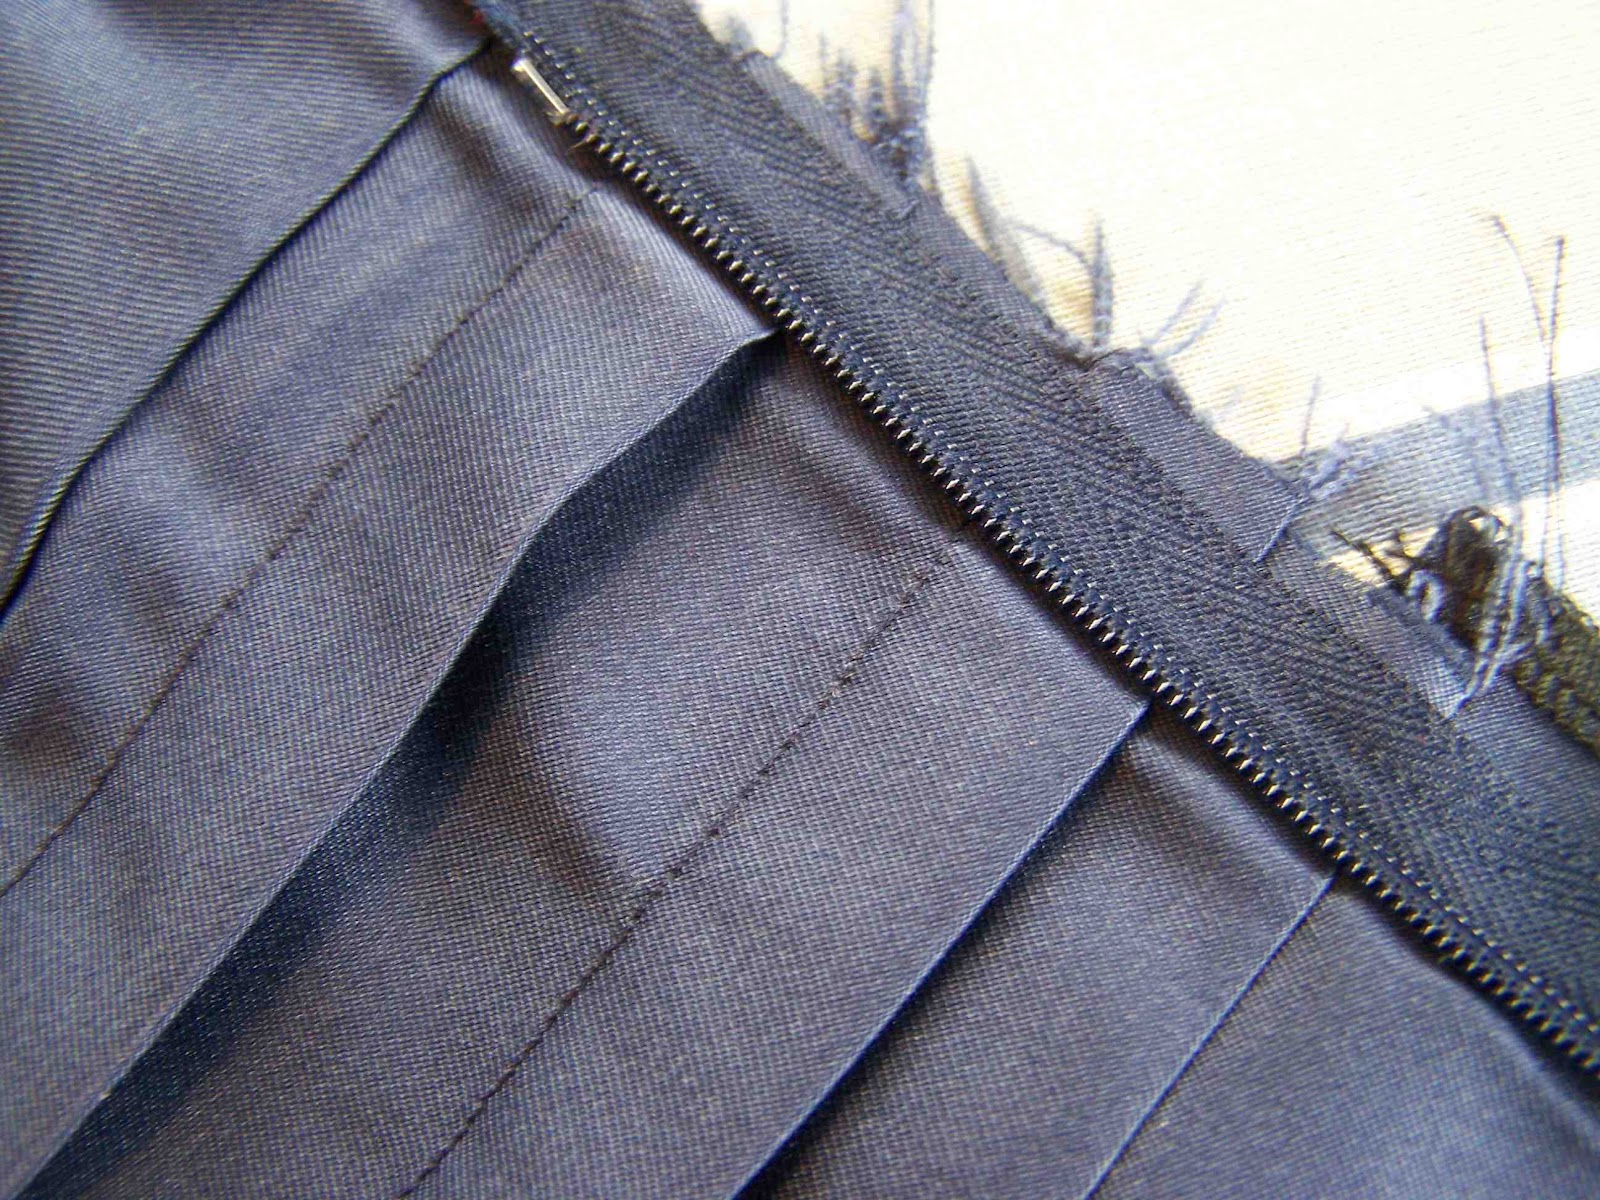
Align the top stop of the zipper just below the waistband/waistband facing seam. You want the zipper to stop as close to the top of the waistband as possible. If you prefer, you can move it down a quarter of an inch, and install a hook and eye at the top of the skirt.
Follow the invisible zipper tutorial for zipper installation, and sewing the remainder of the side skirt seam.

Your zipper should be installed, and the waistband facing should be open. Check to make sure that your zipper doesn't catch when zipped up and down.

Press the waistband facing down toward the inside of the skirt. Your lower edge should have already been pressed under 1/2". You lower edge should overlap the waistband/skirt seam by 1/8".

Pin your waistband facing in place, with pins on the right side of the fabric. Pin along the side of the zipper as well.

Here's a look at the pins on the right side of the fabric.

Carefully stitch in the ditch of your waistband/skirt seam. This stitching should secure the waistband facing.

When you reach the end of your waistband/skirt seam, pivot, and sew 1/8" away from the zipper edge, pivot at the corner and topstitch along the upper edge of the waistband.

Here's a look at the inside of your skirt. The raw edges of the skirt/waistband seam are completely encased in the waistband facing. Booyah!

Now, one last step. Hem your skirt. I recommend using a blind hem if your machine will accommodate it. My tutorial for the blind hem with a sewing machine or a serger can be found here. You may want to try your skirt on to determine how much you hem your skirt. I used a 1 1/4" hem on my skirt. You could of course, use a standard hemming method for the skirt, the blind hem just happens to be what I used.

Thanks so much for reading. If you try out the tutorial, I'd love to see some photos of the finished product. Feel free to upload them to the flickr group, or send me a pic via email.
As with all of my tutorials, this is for personal, non-commercial, use only. Thanks!
3 comments:
I love how this turned out! I'm pinning it.
Thank you for posting this tutorial, I've been wanting to make a skirt like this for a couple of weeks now. When I finally get it done I'll post it for you!
Hello! Tanks for sharing this pattern! I've just finish to translate it in french on my paper, i will cut the fabric tonight !
Thank you very much...
Post a Comment