Search This Blog

Showing posts with label garland. Show all posts

Wednesday, September 19, 2012

Tutorial: Low and No Sew Scallop Garlands


Scallop Garlands aren't anything new, and I won't pretend to be the first one to write up a tutorial for one, but hopefully this low/no sew tutorial will make the construction process quicker, and easier.

No Sew Scallop Garland


Materials: 
Bakers Twine (Length of desired garland)
5 inch circles, edges pinked, and pressed in half
Fusible Hem Tape
Iron and ironing board


My garland uses sixteen five inch circles, spaced roughly 1 inch apart, and the total length is approximately six feet.  


I used my accuquilt Go! Baby fabric cutter to cut out the circles-super quick and easy.  Once my circles were cut out, they were pressed in half, and then pinked around the edges (while folded in half).

To assemble the garland all you have to do is open up your scallops, cut a piece of hem tape that is slightly shorter than the length of your scallop, and place it right up against the fold of the circle.  Place your bakers twine on top of the hem tape.  The adhesive on the hem tape will keep the twine in place, and secure the two layers of fabric. Close the scallop. Press.  Repeat. Like I mentioned, my scallops are roughly one inch apart.


Add done.


A super easy no sew scallop garland.  No bias tape, stitching, clipping, or turning required.

Low Sew Scallop Garland


The Low Sew version is constructed in much the same way.  Cut your five inch circles, and press in half.

Pink the edges.  Doing so will eliminate fraying at the edges of the scallops.  I used a pinking blade on my rotary cutter.  It makes quick work of it.


Sandwich your bakers twine inside your pressed scallops.


 Pin in place.


Sew around each scallop, starting at the folded edge, and stitching 1/4" away from the pinked edge.  Backstitch to secure the flags to the bakers twine.


 Repeat with all of your flags.  Press (I obviously hadn't done that here).  Sewing really doesn't take any longer than the no sew version.  It's just a preference.

Enjoy. Thanks for reading!

Tuesday, October 11, 2011

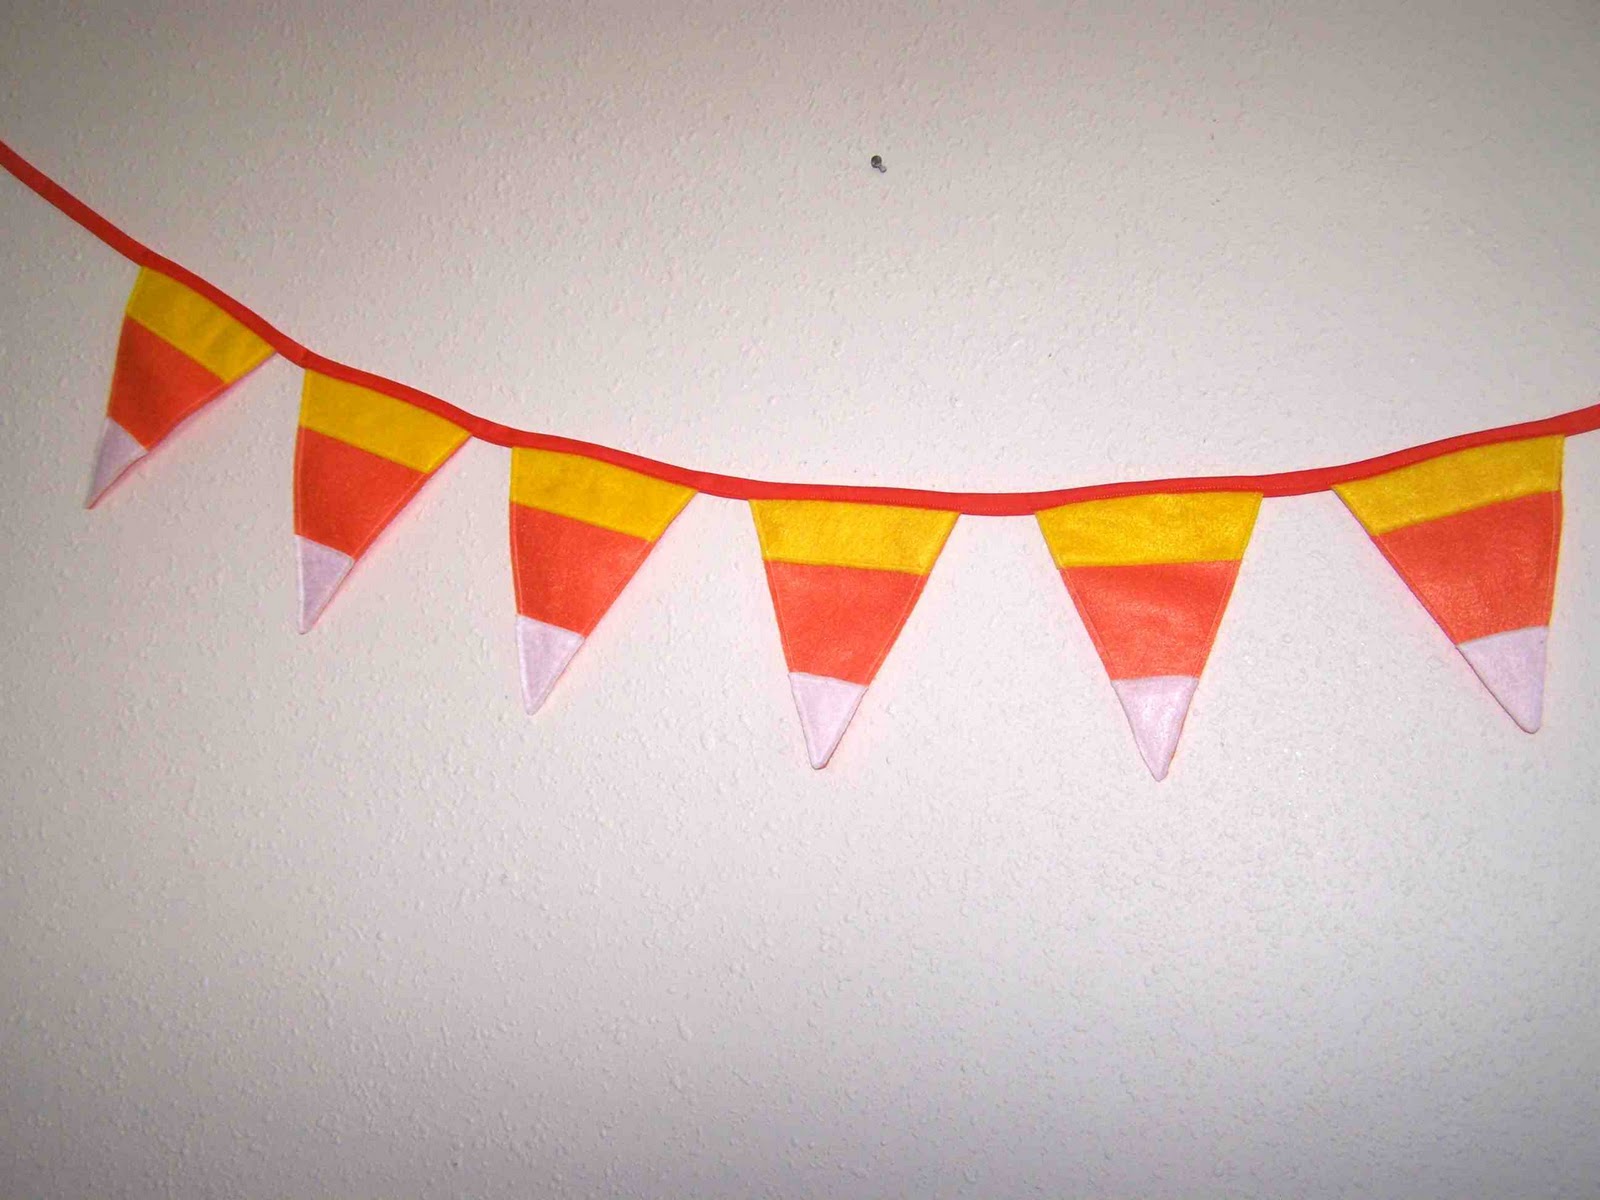
Candy Corn Halloween Bunting


Those of you that have been reading my blog for a while will know that I rarely share holiday decor projects.  It's not that I don't like the holidays, but it seems like so much work to set up decorations, and convince Clark to leave them alone. So you may be surprised that I'm posting some holiday buntings or garlands.


Aside from being one of my favorite halloween candies, I think that candy corn is rather cheery.  This bunting started out with orange felt triangles, and then I stitched on the white and yellow pieces.  The individual flags were then sewn to a piece of extra wide double fold bias tape.


I also made a few trick or treat garlands for my bazaar booth.  I love the font, and think that it is perfect for halloween.  The font that I used was Arcanum, and it can be downloaded for free from urbanfonts.com.

What Halloween decor projects have you been working on?  What is your favorite holiday to decorate for?


Monday, February 21, 2011

Scrap Fabric Bunting


We woke up yesterday to an inch and a half of new snow.  I'm not sure why, but spring is taking it's time making it's appearance.  I'm not expecting 70 degree weather, but having some grass peaking through the snow in my back yard would be quite welcome.


 In an effort to invite spring to Idaho, I made this cheery scrap fabric bunting. It was a quick project, and I am rather pleased with how it turned out.

Each flag of the bunting is made out of two layers of cotton, making it double sided.  Rather than sewing the flags to bias tape or ribbon, I created button holes on each flag.  While button holes aren't my favorite thing to make, the process was relatively painless (thanks to my replacement sewing machine), and the button holes make the bunting very versatile.  I can easily adjust the length of the bunting by adding or removing flags.  I can also remove or add different colors of flags to make the bunting appropriate for the season.


The flags themselves have pinked edges, and a tight zig zag stitch around the perimeter of each flag. Fabric buntings are great ways to use up scrap fabric, decorate for the holidays, and adorn a baby or child's bedroom.  I have a couple of windows in my house with just blinds, no drapes, I'm thinking that this would be a cheerful way to dress them up for spring.

 I'm thinking that I need to make a personalized baby bunting for my sister in law's baby shower next month.  It's going to be cute (assuming that I find the energy to make it).

Thanks for reading, I'll be linking here.