

Top-toberfest is here, and we are going to start it off with a super simple (ungraded) free pattern. With the arrival of Fall, you may be wondering why I'd be sharing a tank pattern, but tanks are great any time of year. I love layering them under cardigans, and the burnt orange seems seasonally appropriate to me. This particular tank is also great tucked into a pencil skirt. It's made out of a lightweight sheer polyester, and blouses nicely. With side bust darts, it has shape at the top, and has a slight flair at the bottom (perfect for disguising a stubborn post baby bump).

It also has a slight racerback cut in the back.
This free pattern is size small. I realize that not everyone wears a small, and I apologize, but I don't have the pattern drafting/grading skills to adjust it. However, this free Sorbetto Top pattern from Colletterie similar, as well as the Wiksten Tank pattern for purchase.
Materials:
1 1/4 yard lightweight material
Printable sewing pattern (size 4/6)
Coordinating thread
Sewing supplies
"Sharp" sewing machine needle for lightweight fabric
*rolled hem foot, optional
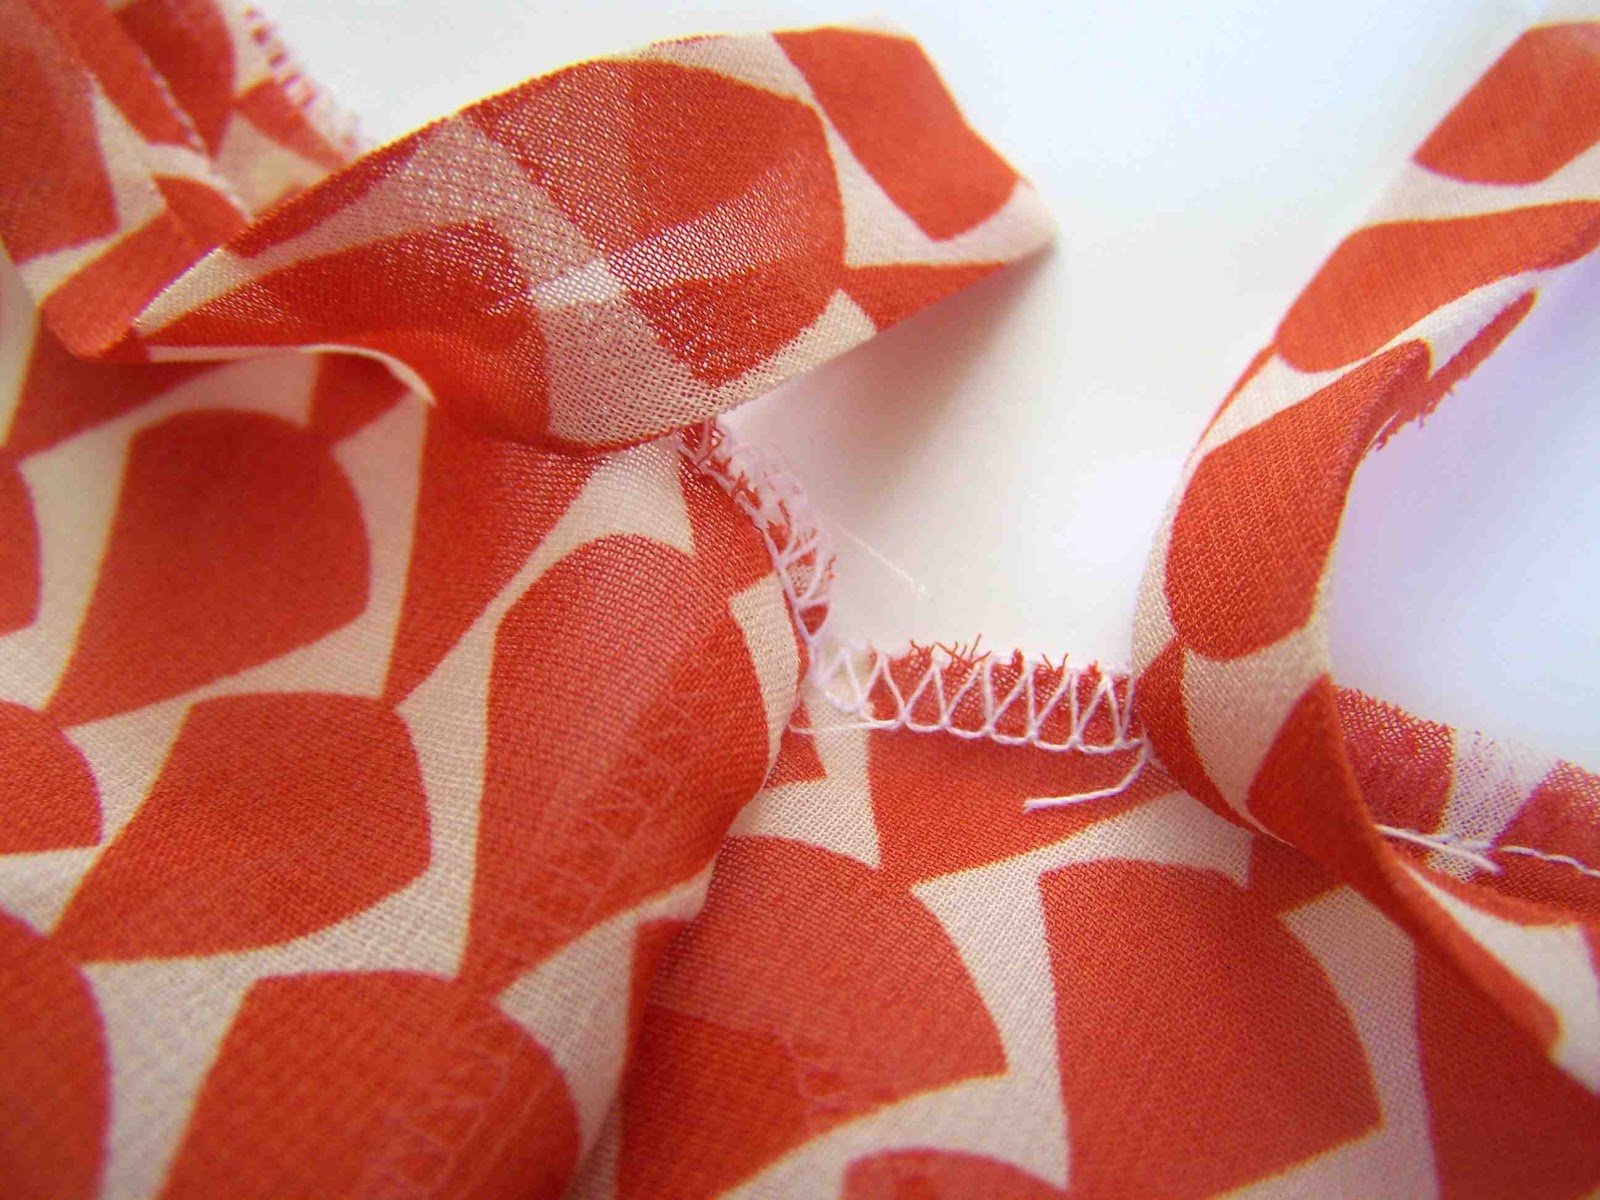
-If you don't have an overcast serger, you may wish to use french seams on the shirt to encase raw edges. You can find a tutorial here. You will need to adjust the seam allowance on the pattern to do so.
Step 1: Print of pattern. Assemble pages according to diagram on pattern. Make sure that pages are printed to scale.
Step 2: Cut out one tank front piece on fold. Transfer bust dart markings to fabric
Step 3: Cut out one tank back piece on fold.

Step 4: With the remaining fabric, cut several 2 inch strips of fabric on the bias. Connect ends to form a long bias strip. Create double fold bias tape by meeting the edges of the fabric in the center, pressing, and then meeting up the folded edges and pressing again. For more information on creating bias tape see this tutorial.
*I used a 1 inch bias strip, creating very small double fold bias tape. Next time I'd bump it up to 2 inches.

Ahhh....bias tape.

Step 5: Sew the bust dart. Find the markings from the pattern, there should be two on each of the outside edges of the front piece, and one a few inches in. Pins are used to indicate marking points.

Match up the two markings on the outer edges of the fabric. Pin in place.

Starting on the outside edge, sew in toward the inner marking. Rather than back stitching when you reach the inner marking, leave threads long, and tie off ends. Doing so will eliminate puckering. Press dart down.
*You will only be sewing one seam (on each side). The dart with pull the fabric in a small amount to allow for a better fit at the bust.

Step 6: Place front and back pieces with right sides together, matching up side seams. Stitch together. 1/4 inch seam allowances are included in this pattern.

Step 7: Match up shoulder straps, stitch together. Press seam to one side.

Step 8: Hem the bottom of the tank. To do so, press the bottom edge of the fabric up 1/4", and then another 1/4" to encase the raw edges. A rolled hem presser foot can also be used for this step.

Step 9: Attach bias tape to both arm scythes, and neck. This is the trickiest part of the whole pattern, but it is doable. I'll show how.

You'll now have two tails of your bias tape. Pull the bias tape so that it is tight, and matches up at the seam. Pin in place. Stitch the two tails of the bias tape together (not to the garment). The seam should Press the seam open.

The bias tape should now be just the right length for the remaining section of the garment. Finish stitching the bias tape across the remaining couple of inches.


All done. Easy as pie right? When it comes to sewing with sheers, this is a great starter project. With only two pattern pieces, and a simple bust dart, it's not too intimidating.
Tips for sewing with light weight materials:
-Use a Sharp needle, it will help prevent threads from pulling.
-Reduce the amount of pressure on your presser foot by using your sewing machine's adjustment dial. Doing so will allow the fabric to feed through the machine with greater ease.
-Use pattern weights and a rotary cutter to cut out your material. The material won't shift as much during the cutting process. Don't have pattern weight? I like to use tuna fish cans, they are heavy enough, and have a low enough profile that they don't get in the way.
*PS- I was going to have my husband take some pictures of me sporting the tank today, but instead we spent the day in the hospital having his appendix removed. My mannequin photos will have to suffice.
7 comments:
I am so doing this. Love the fabric you used!
Oh my goodness. Hope your husband is recovering okay! LOVE the top!! The fabric is so pretty and those tips are great!
I can't wait to try this out! I'm doing a bias tape series and wonder if I could feature you at some point!
Until then, check out this tutorial for making bias tape (it's easier than piecing it all together like Dana's): http://roseleej.blogspot.com/2012/10/bias-tape-made-easy-tutorial-with.html
I'm so for the 'hiding post baby bump' part
yummi !! exactly what I was searching to "disguise a stubborn post baby bump" !! let's sew !
Nice Blog. Thanks for sharing with us. Such amazing information.
MyBlogger Club
Guest Posting Site
Best Guest Blogging Site
Guest Blogger
Guest Blogging Site
google 2233
google 2234
google 2235
google 2236
google 2237
google 2238
google 2239
google 2240
Post a Comment