

Reduce, Reuse, Refashion: Sweet Pea Dress
from T-shirts.

So today I'm sharing a pattern and tutorial for this little refashioning project I just finished. It is a really simple design, sews up in a flash. I was able to use up two shirts that I had sitting in my "to be refashioned" pile.
This particular dress was made for my niece that is about 26" tall, and close to 18 lbs. I'd say it's probably a 6-9 month size as far as most clothing sizing goes, but I think that the top could work anywhere from 3-6 to 12 months. It has a tie at the top that draws in the neckline; it could easily be adjusted to grow with your baby.
Keep reading for the full tutorial, and link to the free pdf pattern.

What you'll need:
2 knit shirts to be refashioned (or enough yardage to cut out the pattern pieces.
Sweet Pea Dress PatternLong piece of knit fabric (2 1/2" x 42"), 42" piece of wide satin ribbon
Coordinating thread
Sewing Machine
Optional: Serger
Fray check or fray block
Large Safety pin
Print off pattern pieces. Cut out around rectangular border. Tape pattern pieces together, and cut out dress pattern piece (along dashed line at bottom).
This dress hits mid thigh on my 26" niece. If you would like to lengthen the dress just add the desired amount to the bottom of the hem. Keep about an inch and a half difference between the length of the lining, and the length of the dress.
Cut two lining pieces on fold (with bottom hem aligned with the dashed line of pattern piece). If you are using an existing t-shirt, use the hem of the shirt as the hem of the dress.
Cut two dress pieces, on the fold, along the solid hem line. Use the existing hem of the shirt as dress hem.

With right sides together, pin the lining pieces along the side seams. Repeat with dress pieces.

Using 1/4" seam allowances, sew side seams. Serge edges if a serger is available. It you don't have a serger available, press seam open. Repeat on dress pieces.


Using 1/4" seam allowances, stitch around each arm. I serged these seams, but this is not necessary. Clip your seams along the curve.

Turn the dress right side out, with lining on the inside. Press along arm seams.

Pin around the entire top of the dress. Pin lining and dress together along the top of both the front and back of dress.
*If you don't have a serger, you can turn the dress and lining pieces under (in) 1/4" at the neckline of the front and back of the dress. Doing so will encase your raw edges.

Stitch 1/8" from edge of dress to secure the lining and dress pieces. Sew around both arms, front, and back. Serge along front and back, if available.

Turn dress inside out. Press neckline down 1" on the front and back. Pin along press, on the outside of the dress. Turn dress right side out. This will be the casing for your tie.

Stitch along pinned edges, 7/8" away from pressed edge. Make sure that you catch both layers of the fabric when sewing this seam.

You should now have a casing created along both the front and back of the dress.

Cut your tie material to 2 1/2"x42", if using knit. Use a narrow rolled hem stitch on your serger to finish off all edges. Apply fray block to corners.
If you are using ribbon for the tie, but to 42", and apply fray block to raw edges of ties.

Connect the safety pin to one end of your tie.

Thread through both front and back casings. Tie in a bow.
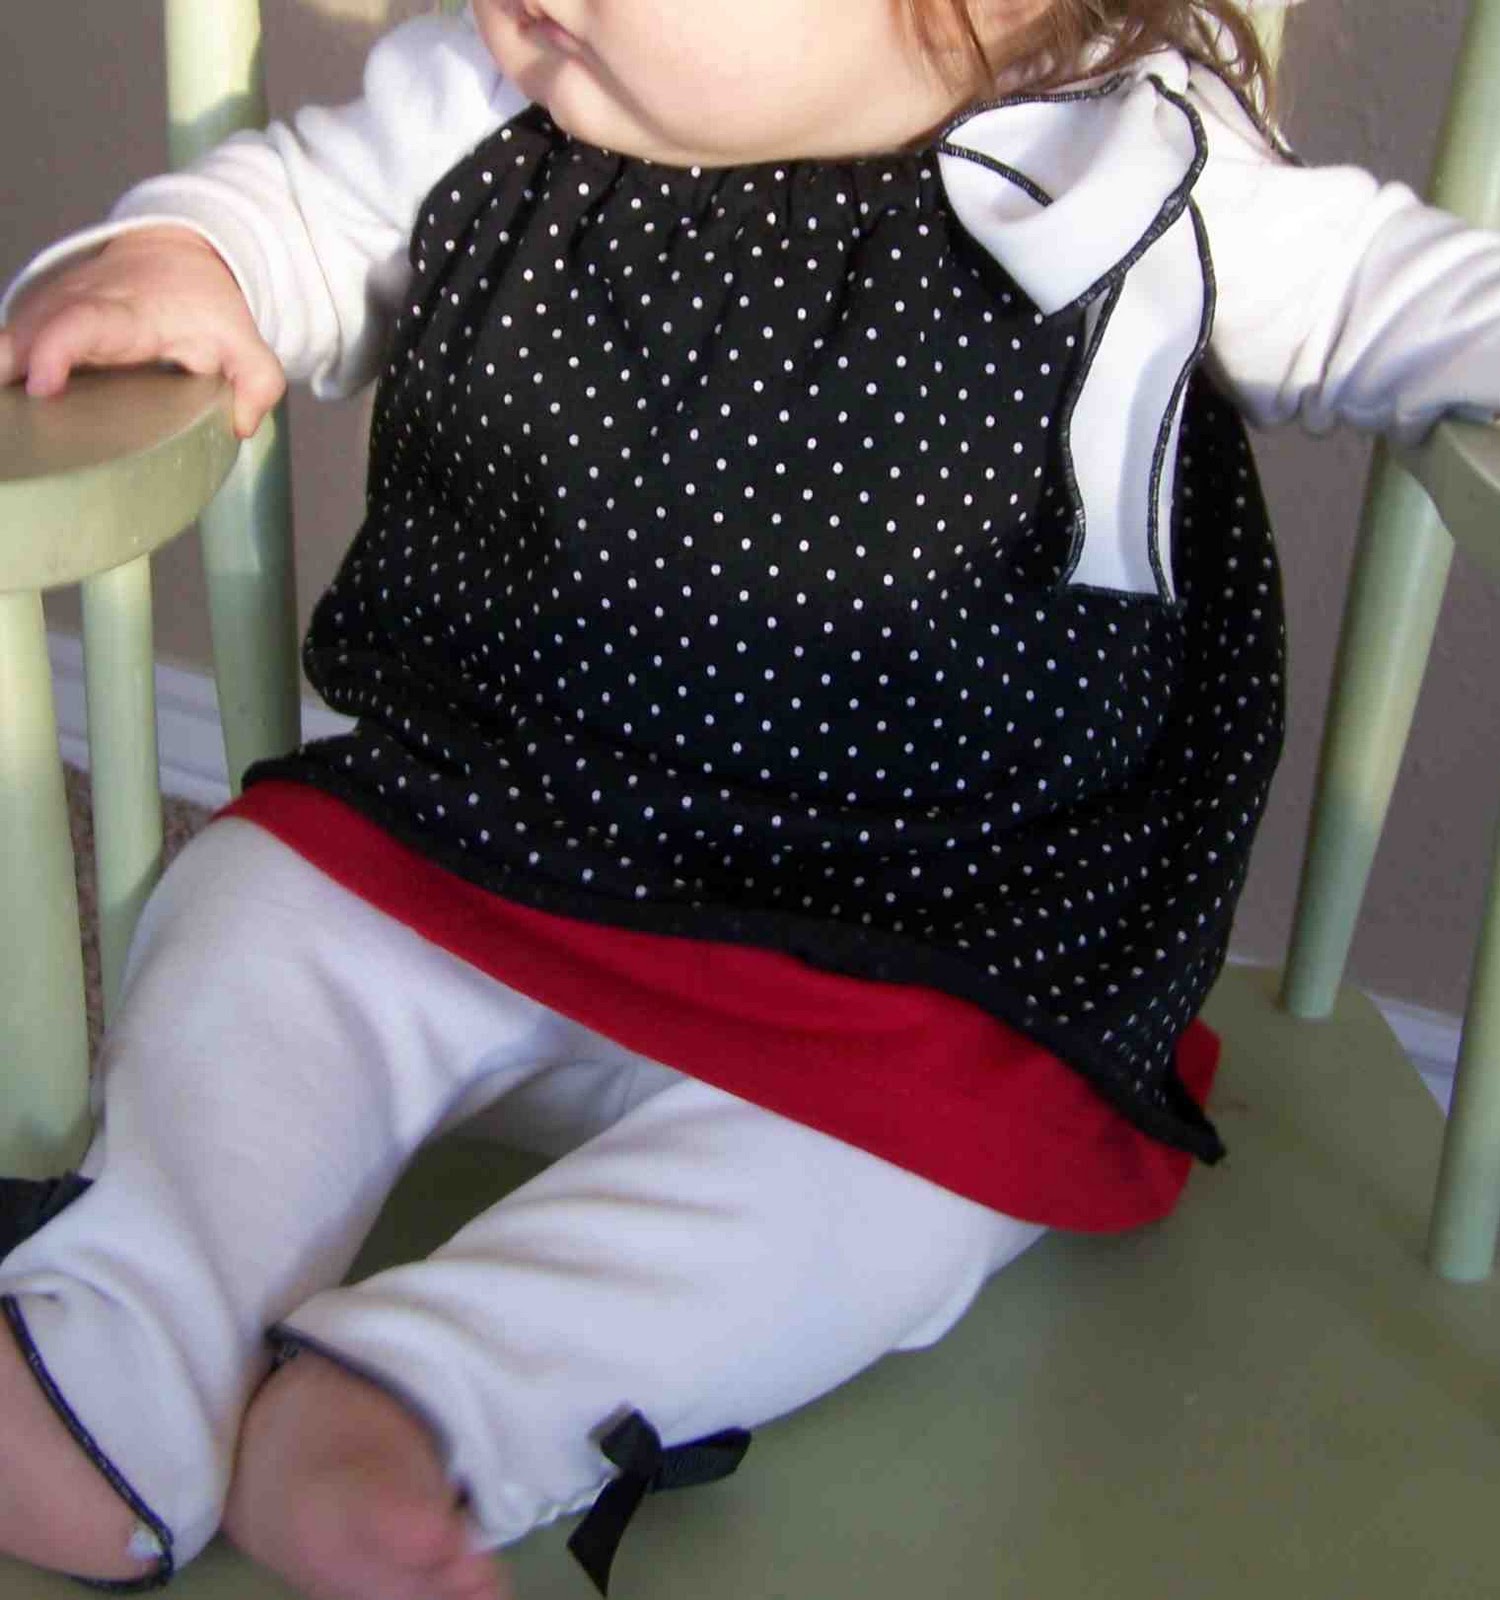
And your done. Wahoo. Using knit fabric from old t-shirts makes for a really comfortable play dress. The tie of the dress makes the dress easily adjustable as the baby grows, and this could work as a top when the child is too tall for it to be a dress.
Later this week I'll share the legging pattern and tutorial with you.
Thanks for reading, and happy sewing.
9 comments:
Very sweet dress. The colors are great together.
That is so sweet!
You are so creative! This is a darling outfit and I love the fact it was made out of something discarded.
Paisley wore it to church on sunday and it was a huge hit! Its so stinking cute! thanks so much! She is very blessed to have such a talented aunt!
So cute and looks so comfy. Love the black stitching on the tie.
How adorable! I have a ton of old tshirts waiting to be put to use and a cute daughter... put them together with your pattern and it's a match made in heaven! Thanks for sharing!
So cute, Tricia! Great tutorial :)
What a great dress tutorial!!! Would love to have you come link-up at Finished it Friday! Have a fabulous weekend!
~Kimberlee, The Spunky Diva
Great post. Thanks for sharing this. For online shopping discount codes please try Flipkart Vouchers for buying any product online. I tried it and get 40% Discount on my all products. Try this. Its amazing.
Post a Comment