


I love all of the lace embellished tops that I've seen around lately. Lace is so feminine, and dresses up any outfit. I picked up a plain tank that was on clearance at Wal-mart, and purchased some crocheted lace at a little local gem of a fabric store. The lace was only a dollar a yard! While I'm not one to sport a tank on its own, I love to layer them under cardigans or over a longer sleeved shirt.

Want to embellish your own tee or tank? You can find the full tutorial below.
What you'll need:
A plain t-shirt or tank
About one yard of lace (I used around 26")
Sewing machine
Thread to match the lace

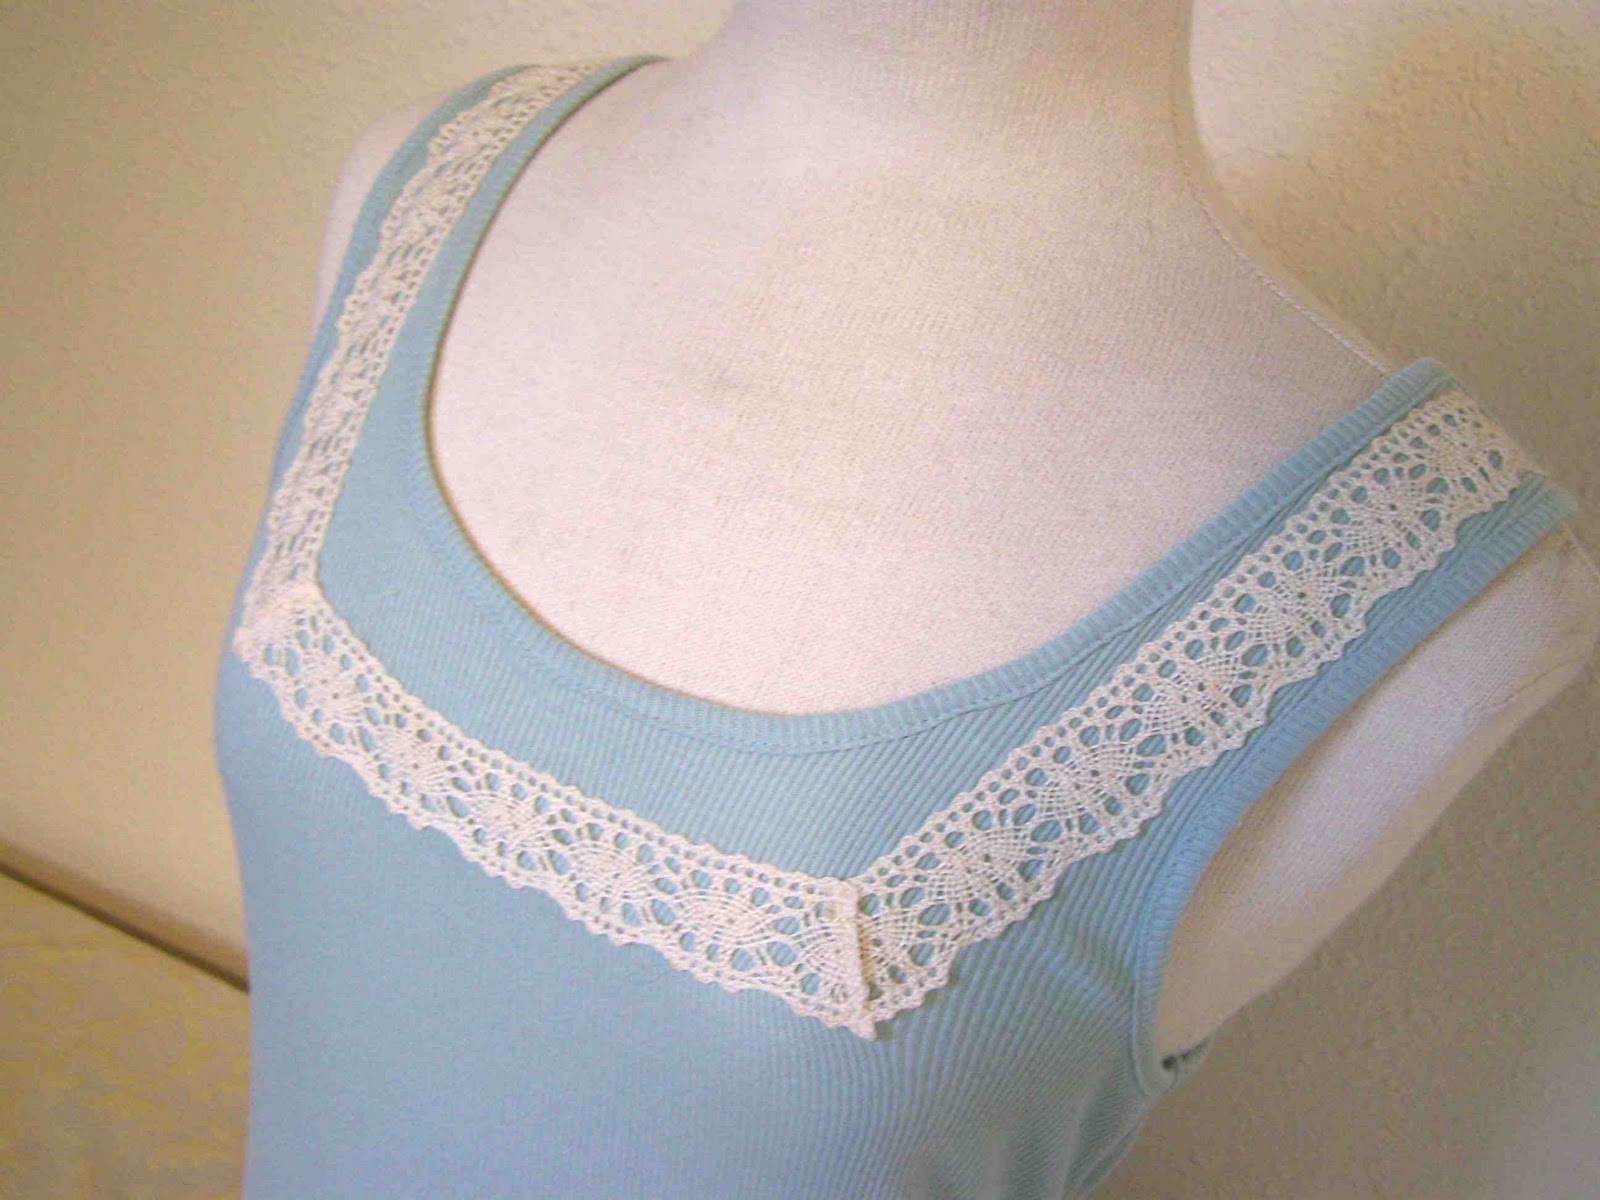
The first thing that you will want to do is to lay out your lace. You will want to have an extra 1/4" length of lace on each side for attaching it to the shoulder seams. The sides of my lace bib extend 8 1/4" below the shoulder seam. The width of the bib is 7". Make sure that as you lay out your bib that it is symmetrical.

You will want to fold your lace at the corners, matching up the top edges and bottom edges of the lace. Pin the lace to itself, but not to the top at this time. Press the lace flat. You will also want to make sure that as you pin the corners that they are folded in the same direction. For example, both of my corners face toward the outside of the top, making the center length overlap the sides.

Once your lace is pressed you can stitch down the lace 1/8" away from the crease of the lace.

On the underside of the lace trim off the extra lace. Doing so will reduce bulk and help the lace lay better.

Next, attach the bib to the top at the shoulder seams. Pin the lace with the right side of the lace facing the right side of the top. Your raw edges will face toward the front of the top. Make sure that the lace is the same distance away from the neckline on both sides.

Stitch lace down at shoulder seam line. Trim off extra lace.

Next you will fold the bib forward so that the shoulder seam allowance is encased in the bib. Press the lace down at the shoulder seam. Pin the rest of the bib in place.

Using a narrow zig zag stitch (looks like the italicized zig zag stitch), stitch around all sides of your bib. Stitch as close to the edge as possible so that the lace doesn't pull away from the top.

Backside

Frontside

Once you've stitched around the lace bib, you are done. Easy Peasy! You now have a lovely embellished tank to layer with your wardrobe. I'm thinking that I may have to add some stretch lace to the hem of the tank, similar to the gray tank at the top of the post.

Don't forget to link up to the Top-toberfest link party.

2 comments:
So pretty. Thanks for the lace tips. I've never sewn with lace before but recently got some from one of my college roommate's moms. :) Did you make that belt too??
Gorgeous! Love it with the belt, too.
Post a Comment