Search This Blog

Showing posts with label display fabric. Show all posts

Thursday, February 3, 2011

Open For Business: Bazaar Booth


It's been a bit of a whirlwind the past two weeks.  I have spent most all of my available time sewing, sanding, painting, and prepping for my new booth space at the gift bazaar that I am participating in.


Yesterday I wrote up an inventory, finished my labels, and set up my booth.  I had a total of 87 completed items, none of which were finished prior to my decision to vend.  


I was quite fortunate to find this great desk at a local thrift shop.  I love the shape of it, and think that a sewing machine would fit perfectly in the center section.  For now it will host the many headbands that I constructed.  

As you can tell I never found the perfect solution for displaying the headbands.  The fact that they are flexible, and completely round makes them difficult to display.  Several of them are displayed on little platters and stands, and the rest are laid out in the center drawer.


 I found this display case at the thrift store as well.  I'm not quite sure what it was intended for, but it makes quite a nice home for my baby booties.  It has a carousel on the bottoms, so it turns.  I like that it raises the booties up to eye level.


 On the left side of the table I have both my prints, and business card wallets in small wooden crates (also thrifted). The tortilla cozies are slightly too large for the drawer below, so for now they are sitting on the table top.

It is kind of a random collection of items, but I figured that I'd spend the first couple of months seeing what sells, and then working into a niche a bit later, after all, I'm selling at a bazaar.


I had quite a debate with myself as I tried to determine what color to paint the desk.  My top  two choices were a pale yellow, and a vintage aqua.  I decided to go with the aqua because it didn't blend in with the wall quite as much. My booth is in the back room of the bazaar, and I really wanted it to be noticeable.  The only thing that I dislike about the color is that it doesn't harmonize very well with the headbands and booties.  I think that I will need to get some sort of placemat or table covering for the middle section of the desk.

If any of you are local to South East Idaho, the bazaar that I'm vending at is called Blackfoot Gifts Bazaar.  It is located in Blackfoot, in the plaza just east of the Wal-mart. They're open Wednesday through Saturday, 12-6 (w-f), and 10-6 (s).

  
 Thanks for reading and putting up with me as I've worked on my space.  I'm hoping to get back to my old routine soon.

Wednesday, June 16, 2010

Five Pretty Ways to....Decorate with Fabric

I recently blogged about my mission to organize my craft room.  Well Saturday I headed off to some thrift stores and found some great little goodies that will hopefully help me to make better use of my small space, I will post pictures later.  While out, I found some great treasures which in conjunction with some great Amy Butler fabric  have inspired this post.  


These are not all my ideas, but I am totally inspired by them.  Hopefully they inspire you also.  I will try to give credit where credit is due.


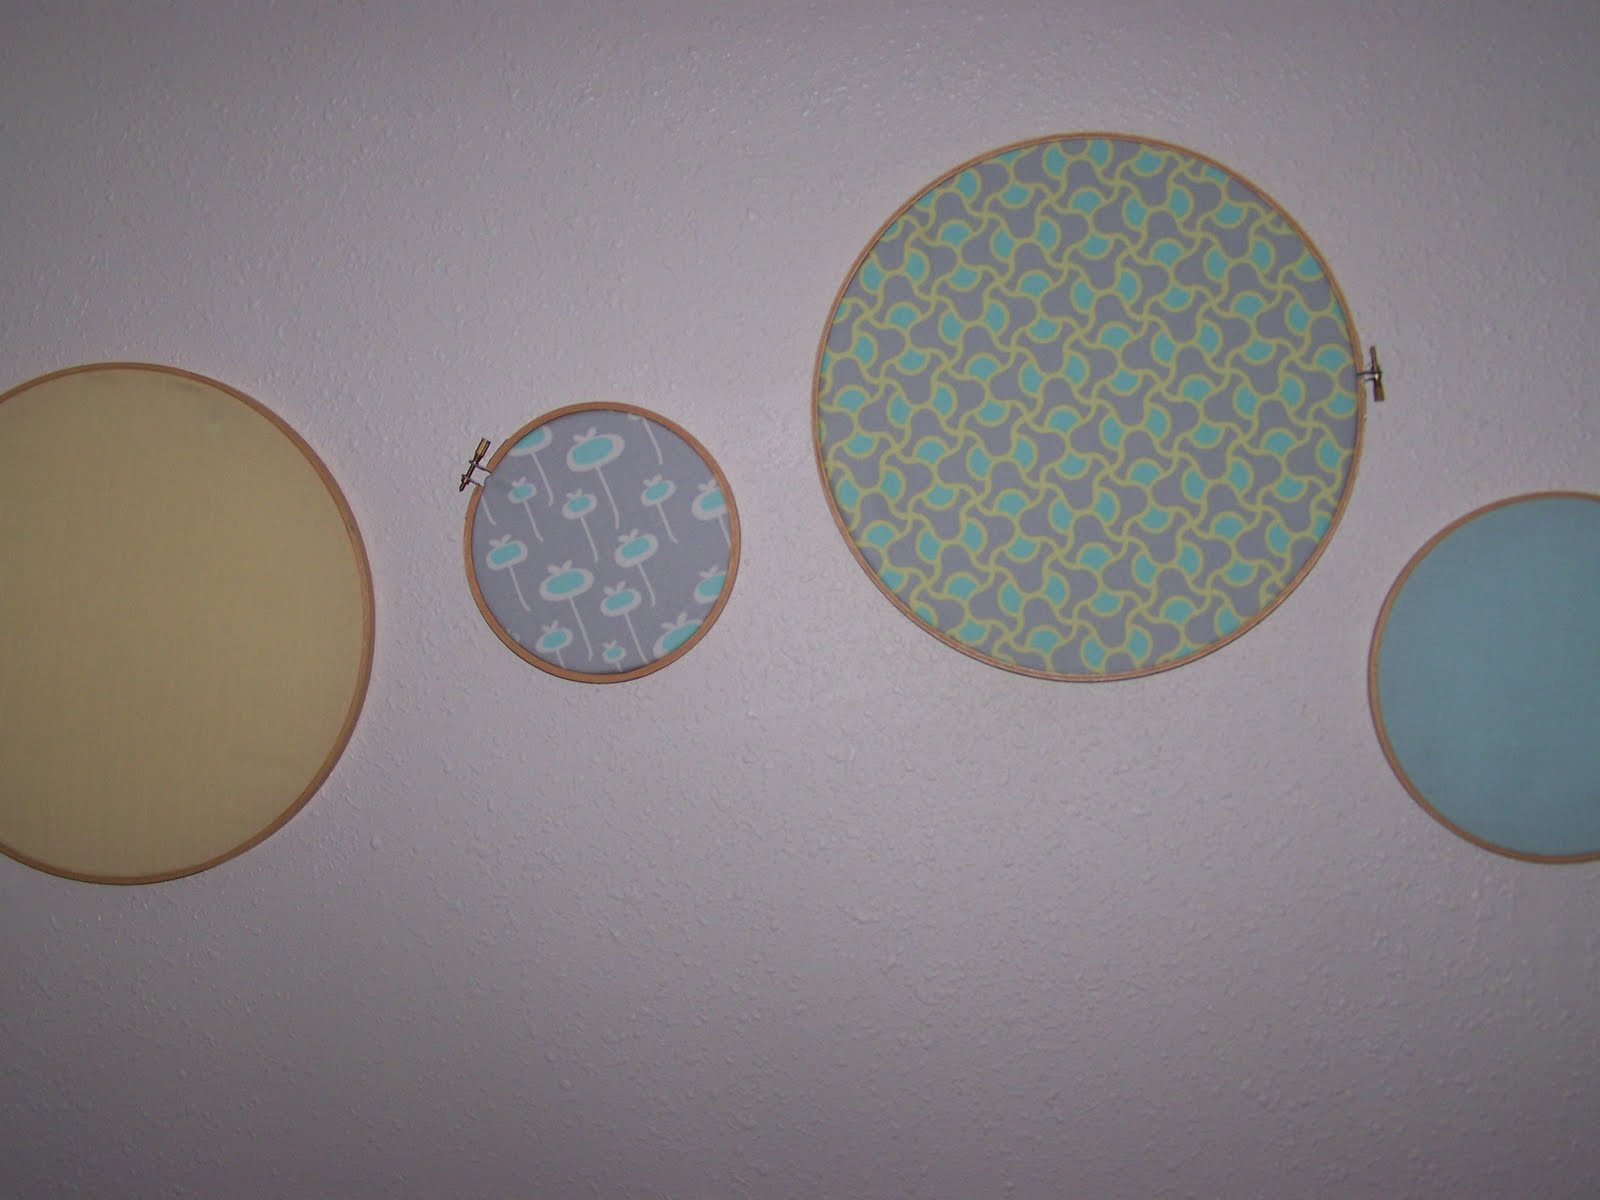
1-Embroidery Hoops I was so inspired by this idea when doing some research for my organization post.  I think that it is such an easy and inexpensive way to display your favorite fabric.  You can easily remove the fabric if you were to decide to use it for a different project, and you can add and subtract the number of hoops that you have on display.  There are a number of different sizes of hoops out there, and we all know that repetition of shape with variation of size is a great way to make things cohesive and yet interesting.  I purchased 4 hoops at 50 cents a piece at the thrift store...I think that I need at least 3 more.  I kind of like odd numbers.


2-Put it under Glass  I am not fancy enough to have a special cutting table like the one pictured above, but I absolutely love the pattern under the glass.  I still am not sure if it is even fabric, but doesn't it look great?  I think that if you were to use this idea in a work station it would be wise to use a fairly monochromatic fabric that is rather light in value-just so that it doesn't interfere with the work you are doing.  I took this idea and applied it to my new filing cabinet.  I cut a piece of my new fabric and pinked the edges (so I wouldn't have to bust out a machine).  Unfortunately I don't have any glass in the right dimensions-I'll work on getting that later.  I did manage to scrounge up a scrap piece of vinyl from my recent projects that will serve as glass until I can update it.


3-Paste it up I have yet to try this idea, but oh how I wish I'd known about it during my apartment days.  It is a simple starch paste that you can mix up to make a removable adhesive for your fabric.  Thanks Jessica Jones for the great idea-check her out at How About Orange.


4-Don't forget to Stretch  There are so many great images out there for stretched fabric.  I love the fact that fabric can be displayed as art-I mean it is someone's artwork right?  Jessica Jones at How about Orange gives a great step by step tutorial on how to use stretcher bars to display your favorite fabric (check out her amazing fabrics while you are visiting).  Design Dazzle also provides examples for inspiration.


5-Write on it This is a brilliant idea.  I need to buy more fabric so that I can make one of these for my craft room-I tried it with a piece of paper, but it is too high contrast.  Once again I think that having a lighter value scale is important to this project.  Check out the tutorial for this genius idea at paper n stitch-you should stay awhile because it is pretty inspiring.


Well those are my top 5, no sew, inexpensive, quickies to decorate with fabric.