Sewing a straight line can be intimidating enough, but for a beginner sew-er, sewing a curved line can be pretty overwhelming, but unnecessarily so. Curved seams are found everywhere, from the crotch of a pair of pants, to a bow tie, neckline, etc. Knowing how to approach a curved seam will help you gain confidence to approach new sewing projects.
Sewing a curved line is really not much more difficult than sewing a straight line, especially if you know a few tricks.
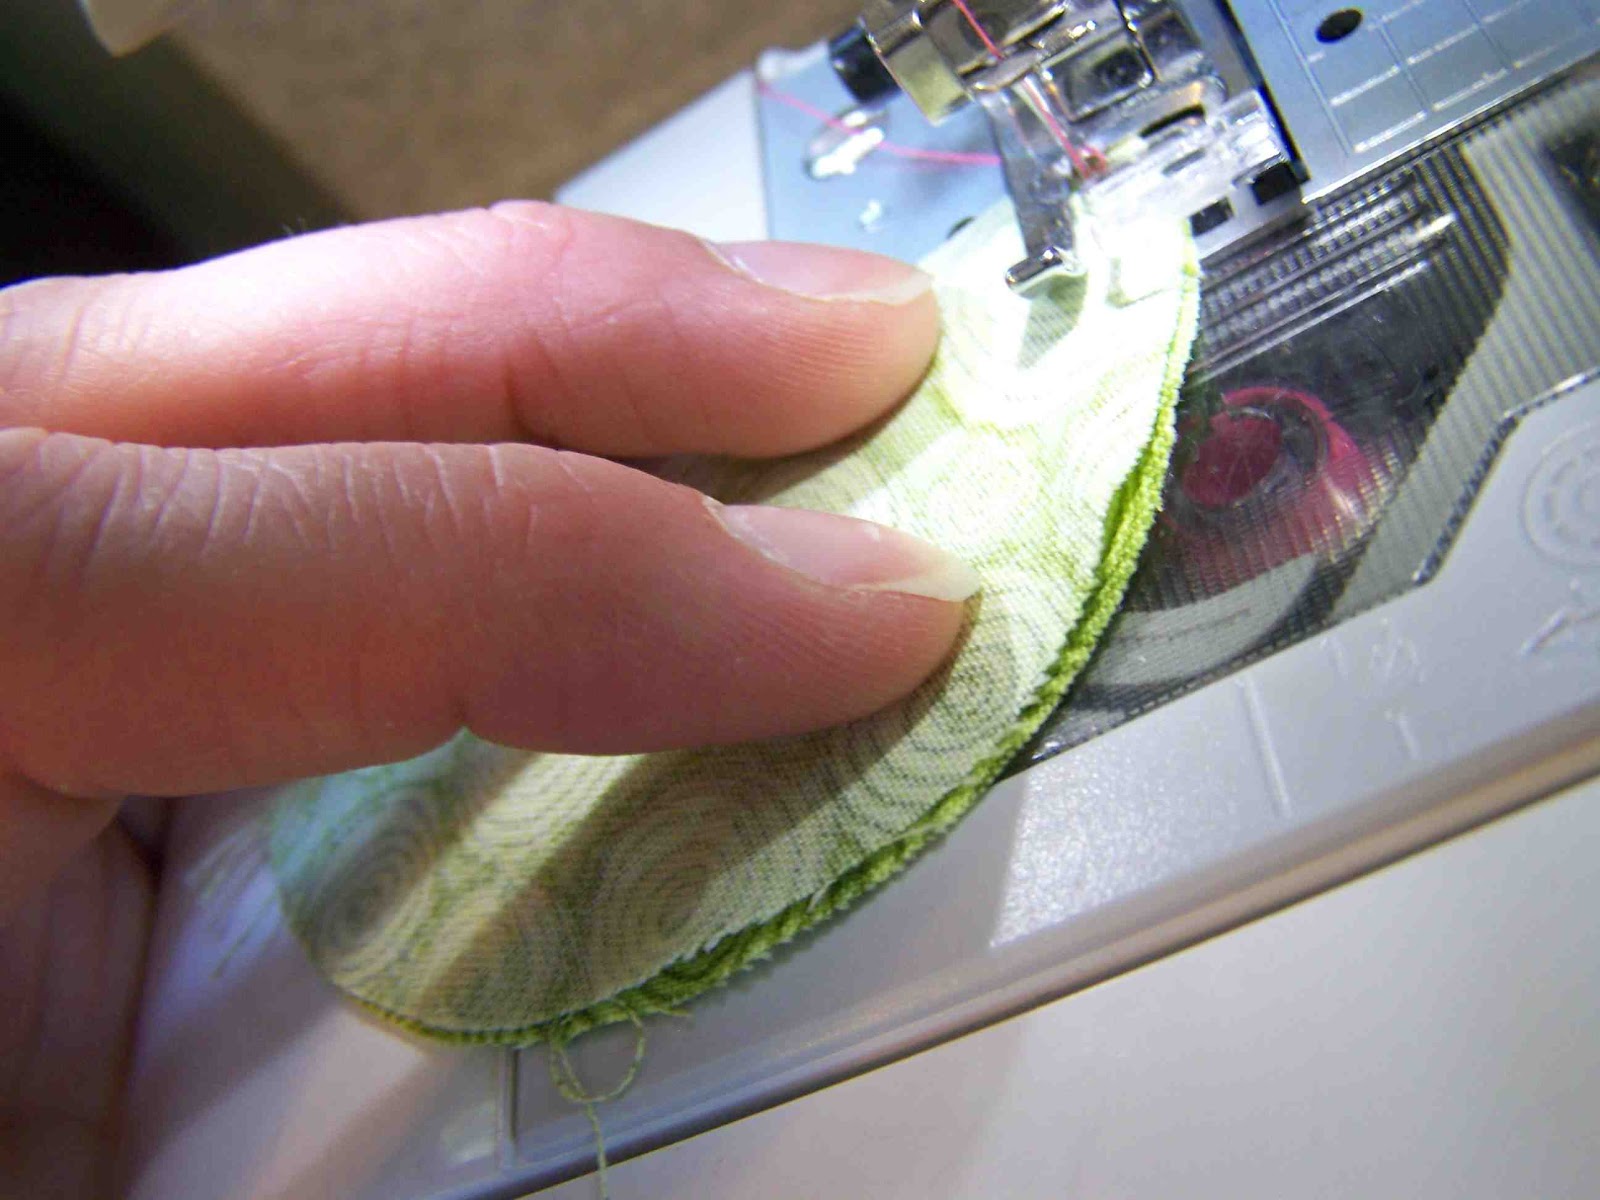
First off, much like sewing a straight line, it is really important to keep your raw edge aligned with the markers on your presser foot or strike plate. Keeping an eye on the raw edge, rather than the needle, will help you stay on course.
Another thing to be aware of is how to steer your fabric. Steering a car becomes second nature if you've done it enough times, and sewing a curved seam is much the same way. Your left hand is going to be your driving hand, if will direct the fabric for you, and help you stay on course. I generally have my fingers positioned in the center of the curve, and my fingers are slightly arched (think playing the piano). Your finger tips will act as an axis for the curve to turn on. If you are sewing a really tight curve, you will want to keep the center of the circle or curve almost stationary, and let the circle/seam turn around your axis point.

With a really tight curve, things can become a bit trickier, it can be difficult to follow the curve of the pattern piece, and keep the fabric properly positioned. An important thing to remember when sewing is that you can always stop. You don't need to power through each seam without taking a breath or a break. When sewing really small circles or tight curves, you'll need to slow down, stop, slightly lift up the presser foot (with the needle in the down position), and reposition the fabric with the markings. The more curves you sew, the more aware you'll become of when it is necessary to do this.
There have been
projects that I've worked on where I've had to stop and lift the presser foot every one to two stitches. It is a bit tedious, but doable.
Shortening the stitch length can also be helpful when sewing tight curves. More stitches per inch, means that you have more opportunity to follow the curve. If your having a difficult time getting your fabric to move freely under the presser foot, you may need to adjust your presser foot dial as well.
So, with those few bits of information, it's really helpful to practice. Begin practicing with a really gentle curve, and then try to tackle some tighter turns.
A great way to become familiar with sewing curves is to practice on paper. Draw a wavy, or gentle curve on a piece of paper, remove the thread from your machine, pop in an old dull needle, and start sewing. You'll pierce the paper, and be able to practice following a curve. I've provided a practice sheet with some tighter curves, once you've tackled the gentle curves.
Just use the outline of the shape as your raw edge of the material, and line it up with your seam allowance markers. Paper doesn't behave like fabric under a sewing machine, but it's a great starting point. When you're comfortable with paper, starched fabric is a great stepping stone to your next sewing project. The more stable the fabric is, the easier it is going to be to control.
A little bit more about curved seams...Often when you are sewing a curved seam, it will be a seam that will either be pressed open, or turned right sides out. In order to get a nice crisp curve, clipping and notching the fabric is necessary.
When you clip or notch the seam allowance, you are allowing the fabric within the s.a. to move with the curve of the seam, by either stretching, or shrinking to a different sized shape.
Clipping a seam allowance (straight cut to the seam allowance), will allow a seam allowance to stretch when it is turned right side out. Any concave curve will need to be clipped (see the upper left side of the shape). When a curve is convex (right side), you will need to
notch out small pieces of the seam allowance, to allow the seam material to fit in a smaller space when turned. The tighter the curve, the more v shaped notches are going to be made.
When notching or clipping, you want to take care not to clip through the stitching line, otherwise you'll have to sew your whole seam again. If you are nervous about cutting through the seam allowance, you can start by clipping and notching one layer of your seam allowance at a time; with the tip of the scissors up against the seam, there's no way you're going to cut through the seam. It will take you more time, but you'll avoid having to start over again.
Hope that helps. Do any of you have any other suggestions or tips for sewing curves? I'd love to hear.