Search This Blog

Showing posts with label kids clothing. Show all posts

Friday, November 2, 2012

The Big Bow Shirt Tutorial with Kim of A Girl And A Glue Gun

Today we have Kimbo of A Girl And A Glue Gun, she's wrapping up Top-toberfest for us, with an adorable Big Bow Top. I'm sure you all know Kim(bo), from her fun blog.  You've probably seen her in many a craft competition as well.  Who didn't love her winning look from Project Run and Play? Want to know a secret, okay, it's not a secret.  Kim(bo) and I went to school together.  Yep, pretty awesome.  I can drop her name whenever I want to seem like a credible blogger.  She was TA in one of my beginning drawing classes in high school, so more than likely, there are  a few poorly executed figure drawings of her stashed under my bed in my  parent's house.  I should probably clean those out some time. You don't care about that, but you are going to be excited what she's sharing with us. So here she is.

so excited to be here! nothing puts the fire under by bum like a good guest post....so i knew i wanted to try something that i just wouldn't do without proper motivation....

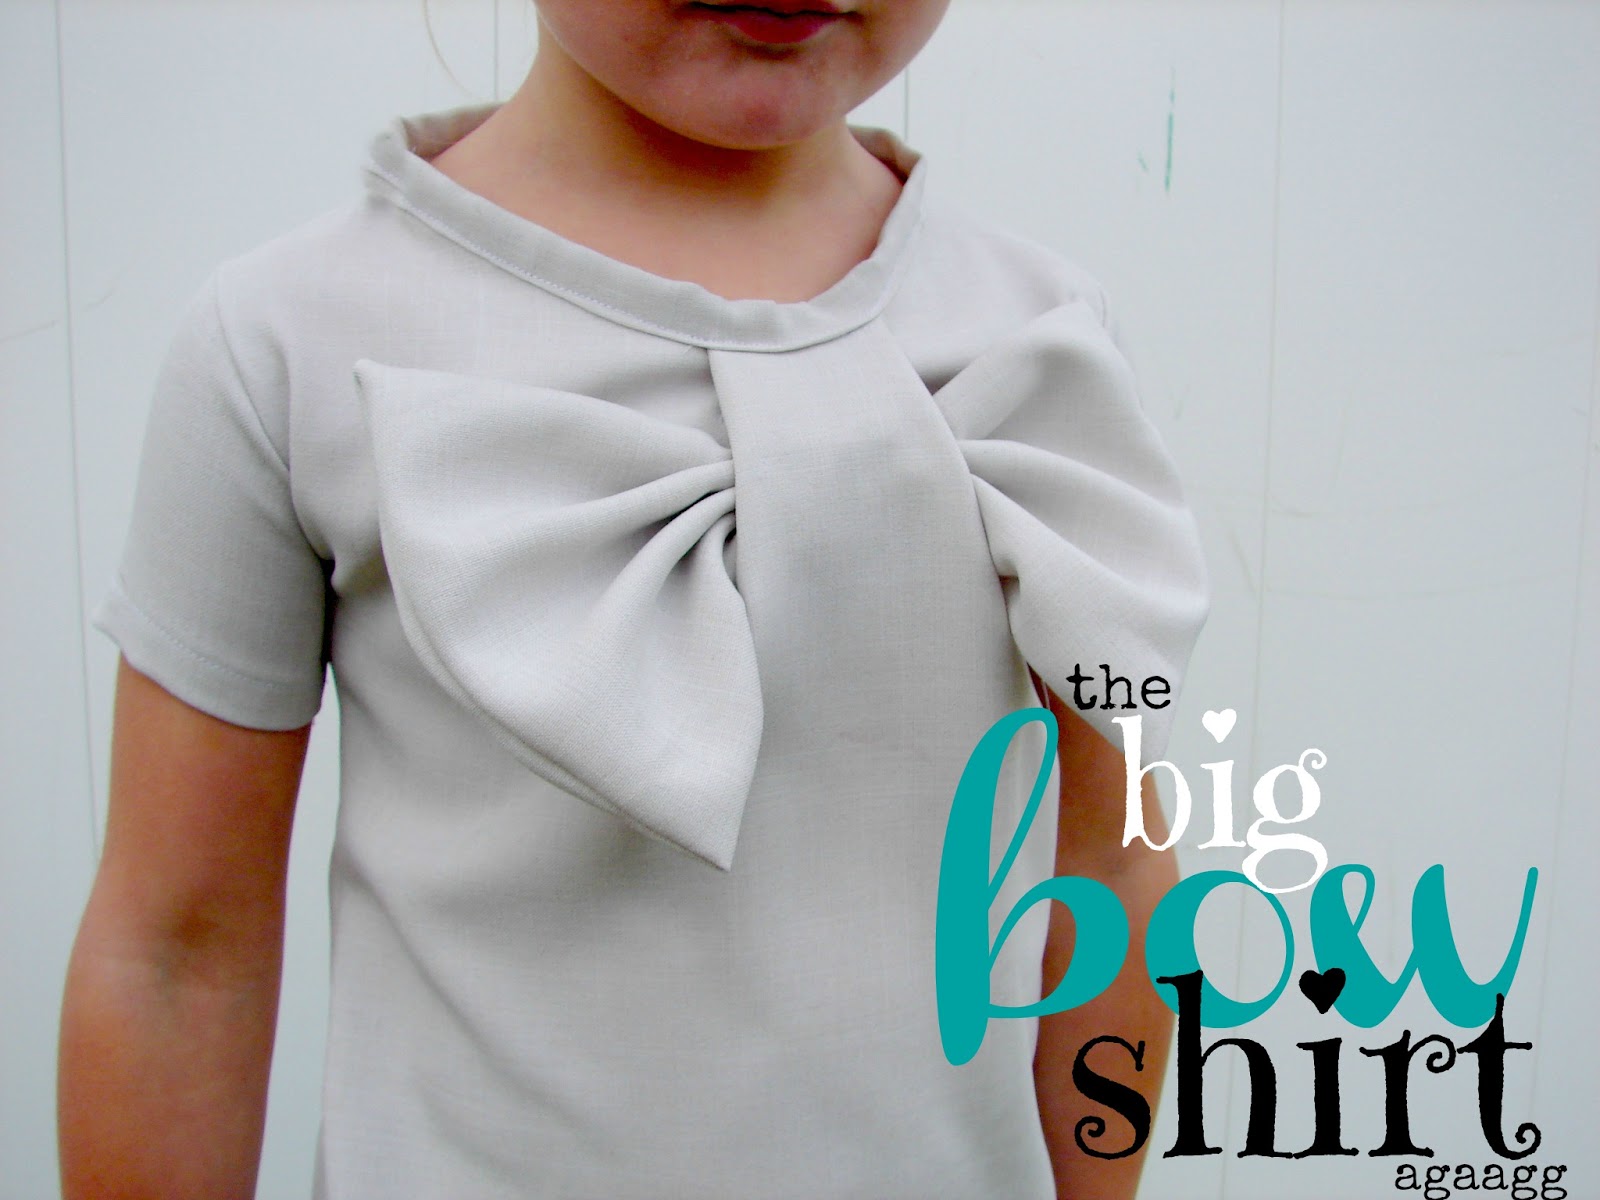
and i have loved this dress from the moment  i saw it on pinterest. something about big bows screams at me.

so i thought i would try to figure it out....and make my own

 I started the shirt like every other made-from-scratch- outfit...
got a shirt that fits and copied it.


 here's the tricky part. the top piece is going to be WAY bigger than the bottom. you cut the back piece to size...and the front piece matches up at the bottom and the sides but the top is drastically oversized. here's a picture of the front piece on the bottom (you may have to squint to see it)


and here's the front piece on top (are you still squinting?)


 you will take the top shoulder pieces and sew them together as normal...this will cause a lot of excess fabric in the chestal area. (i added a little reinforcement around the collar)


 after the collar is reinforced..and the shoulders are sewn...i added sleeves...


 and sewed down the sides and hemmed the bottom (not the collar yet!) you can see all the droopy fabric.

(man...my camera must be dirty. these are all blurry...)
but you take your shirt..and pinch all the excess fabric in the middle and put pins as markers on each side. (these were about 4 inches apart)


 then you get all fancy and add button holes...ignore the mistake that i made on the left....i was just trying to show you that everyone makes mistakes....

 i took a rectangle of fabric and made a decent sized bow...


 then i shoved that sucker in one buttonhole and out the next.


 causes all that excess of fabric to go to the middle...


 but you smoosh it down and pin to the top


 i made some bias tape and ran it the length of the collar


sew it around and realized that it makes it so the collar doesn't fit over my daughter's head. suck.

head to joanns to buy a zipper.


 i snipped right down the back...


 and sewed the zipper right on top. good thing exposed zippers are in style!


i made another scalloped skirt. i'm obsessed. i just can't help myself.....

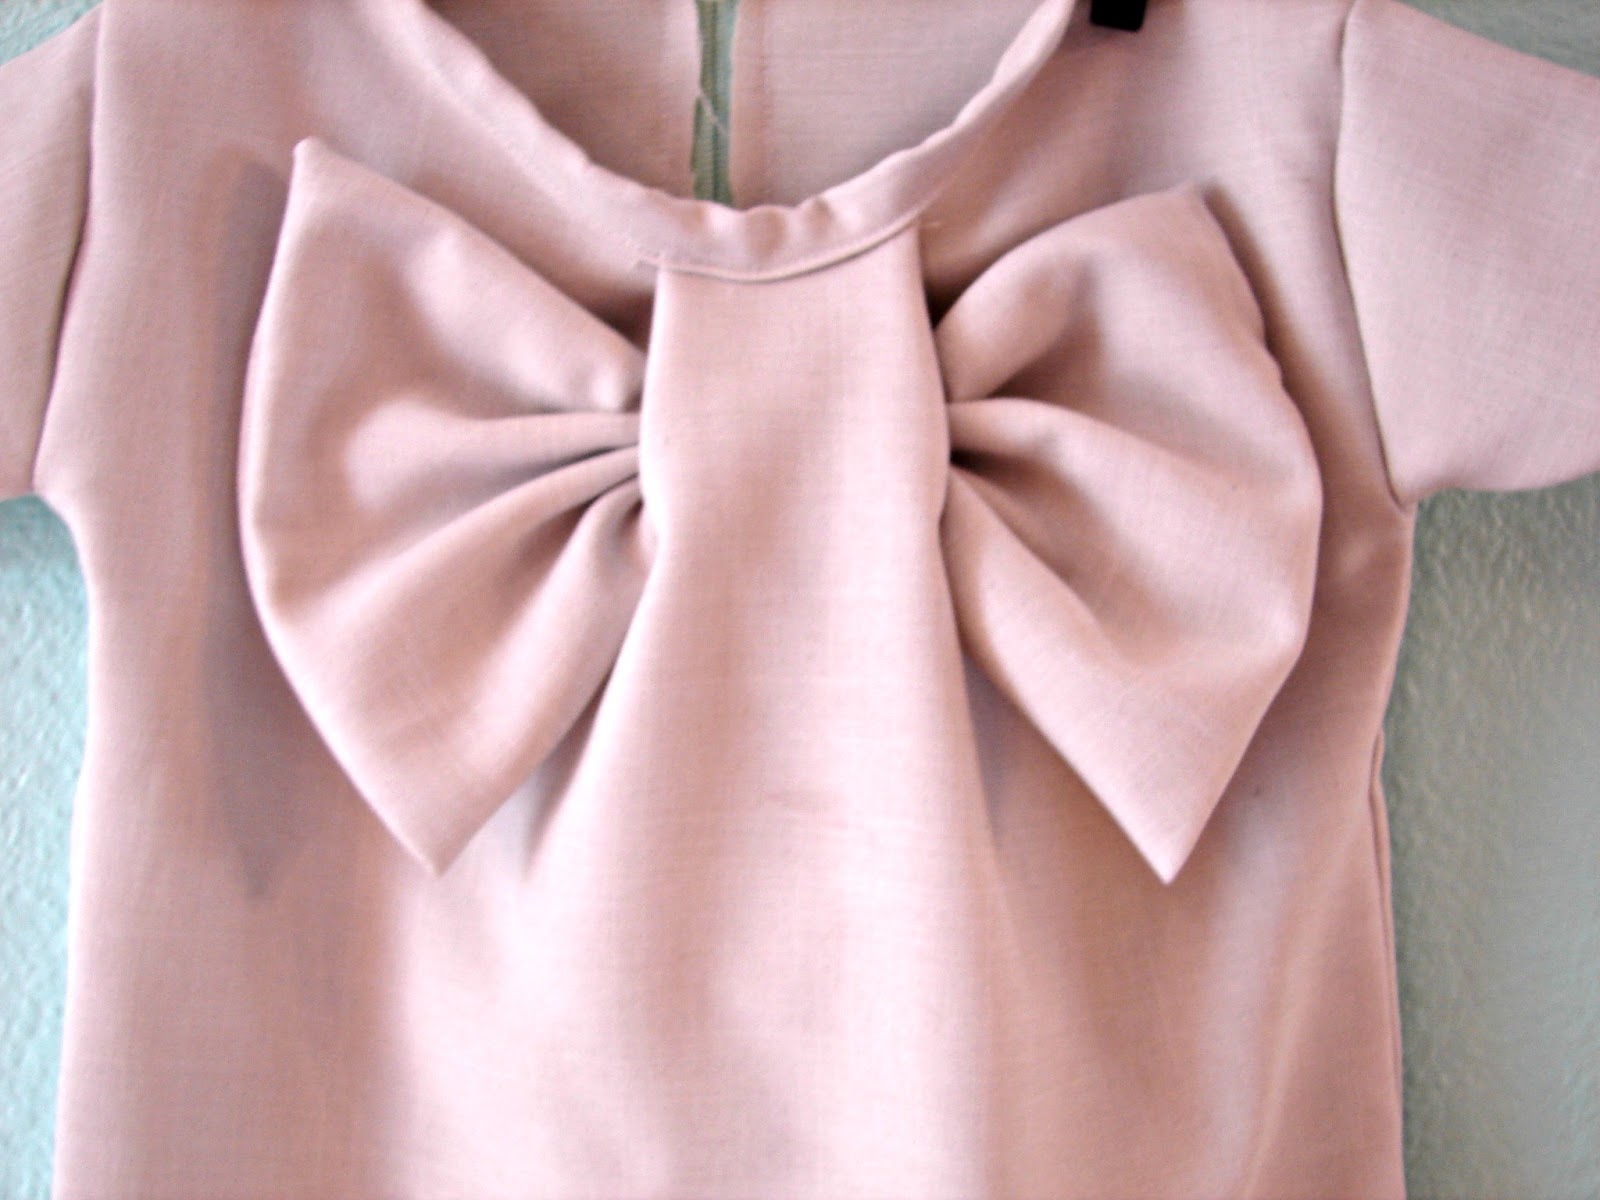
and i would add a couple little stitches at the corners of the bow to keep it up when your kid is wearing it..
i didn't yet cause i wanted to show you that you could add whatever color in there for a nice pop!
there you have it..a nice big bow. to make any kid feel like a gift!

you can come hang out with me on my blog HERE anytime!

Kimbo
Thanks so much Kim for being a part of Toptoberfest.  I loved that dress when I saw it on Pinterest, thanks for being clever enough to show us all how to do it.  It makes an adorable top.

Friday, October 26, 2012

Shark Attack T-shirt with Template


I'm going all out with my boys tops this year aren't I.  Graphic tees all over the place, not a placket in sight.

I realize that not everyone loves sharks, or wants a shark shirt, but my little guy happens to love them.  When I say love, I mean he's a bit obsessed.  We started calling him Clark the Shark a while ago, and now he thinks that he is a shark.  The other day he told me "Mom, when I die I want Heavenly Father to make me into a shark".  I told him he'd have to talk to Heavenly Father about that, so he went on the back porch and said a little prayer to ask Heavenly Father to turn him into a shark.

He also request fish for nearly every meal, including breakfast, "because that's what shark's eat".


Should you have a shark lover in your house, you can find my pdf pattern here. Download it for personal use.


Materials:
I <3 Sharks Template
t-shirt
freezer paper
fabric paint
x-acto knife
iron
foam stencil brush
sewable fusible web
felt
*knit fabric same color as felt, if desired

Sewing materials


Monday, October 22, 2012

Frances Collar Tutorial by Katie of Blue Eyed Freckle

Katie's blog, Blue Eyed Freckle, was one of the first sewing blogs that I fell in love with.  She has a very individual style, which can be a hard thing to develop.  She has great refashion ideas, backdrop ideas, and not to mention a fantastic etsy shop where she sells headbands.  The first project I found of hers was the "I Wanna Be a Girl Scout" T-shirt revamp, featuring a fantastic collar, so I'm thrilled that she's sharing a faux collar project with us today!  

Hi everyone! I am Katie Kortman of blue-eyed freckle (blogger and esty-er). I am a mother of 2 (soon to be 3) and wife to a medical student and so.... I like to make it instead of buy it whenever possible. I don't usually do straight copies of the things I see and like, but rather use them as inspiration. Today's top is inspired by the collar of this dress I saw on thumbeline. I love a removable collar, but sometimes its easier to just make a faux one. So if you are ready to jazz up your daughter's shirt in just a few simple steps, keep reading!

Materials Needed:
cotton shirt
material for the collar (1/4 to 1/3 yd should be more than enough)
some pretty, sew-able ribbon (I used velvet)
*optional: more scraps of fabric to make a bow
THIS PATTERN (I made it for sizes 12-24 months and 2T-4T but can easily be adapted)


1. print the pattern and cut 4 pieces. Sew right sides together and make 2 collar pieces. Leave the top (straight) part open (don't sew).

2. turn the two collar pieces right side out and pin them to your shirt. Fold the unsewn part of the collar under, or inward so that it is closed shut as you top stitch the collar pieces to your shirt.

3. Cut 4 pieces of ribbon and top stitch on both long sides of the ribbon, making sure to tuck in the raw edges on the ends.

So quick and now you are finished! A little work make a big impact in this case.  Now, if you want to add a little something more take a look below:
For my older daughter's shirt, I decided it needed something more. So, I added a bow. You can follow my tutorial here if you are unsure how to make one. To apply it to the shirt, I just got out a hand needle and thread and tacked it in several places to ensure it won't get all wonky after being washed (which tends to happen). 

Here are a few more shirt-making or re-making tutorials from my blog. Happy Toptober!

Thanks again Katie. Great project.  Look at those beautiful girls in their tops.  

Monday, February 28, 2011

Comfy Kids Pants


If you've been following Celebrate the Boy on Made, then I'm sure that you've seen Dana's fantastic tutorial on Kids Pants.  Clark seems to run out of pants before anything else, so I decided to make up a pair for him. Normally, I don't like plain pants, but I love the slightly flared leg, and wide hem on these pants.


I ended up shortening Dana's pattern a bit, though I wish that I would have left the length for a wider cuff.  Dana says that the pants fit a slim/tall 2-3 year old.  My son is not quite two and a half, and normally wears a 2T in pants.  These pants were a bit snug through the diaper area.  If he were just wearing undies, they probably would fit a bit more comfortably.  

To be quite honest, I didn't read her tutorial, and I took the liberty of using a 5/8 inch seam allowance.  If I'd used 3/8 of an inch, they would probably have fit better through the behind.


 Clark loves these pants.  They must really be comfortable.  I did sneak one small pocket on the back of the left side of the pants, unfortunately I wasn't able to get a clear shot of it.

Dana recommends doing two stitching lines on the hem of the pants.  I recommend finishing the raw edge of the hem, turning the hem up, and then using a twin needle.  Using a twin needle ensures that your stitch lines are uniform.

Never used a twin needle before?  You can find more information on twin needle stitching here.