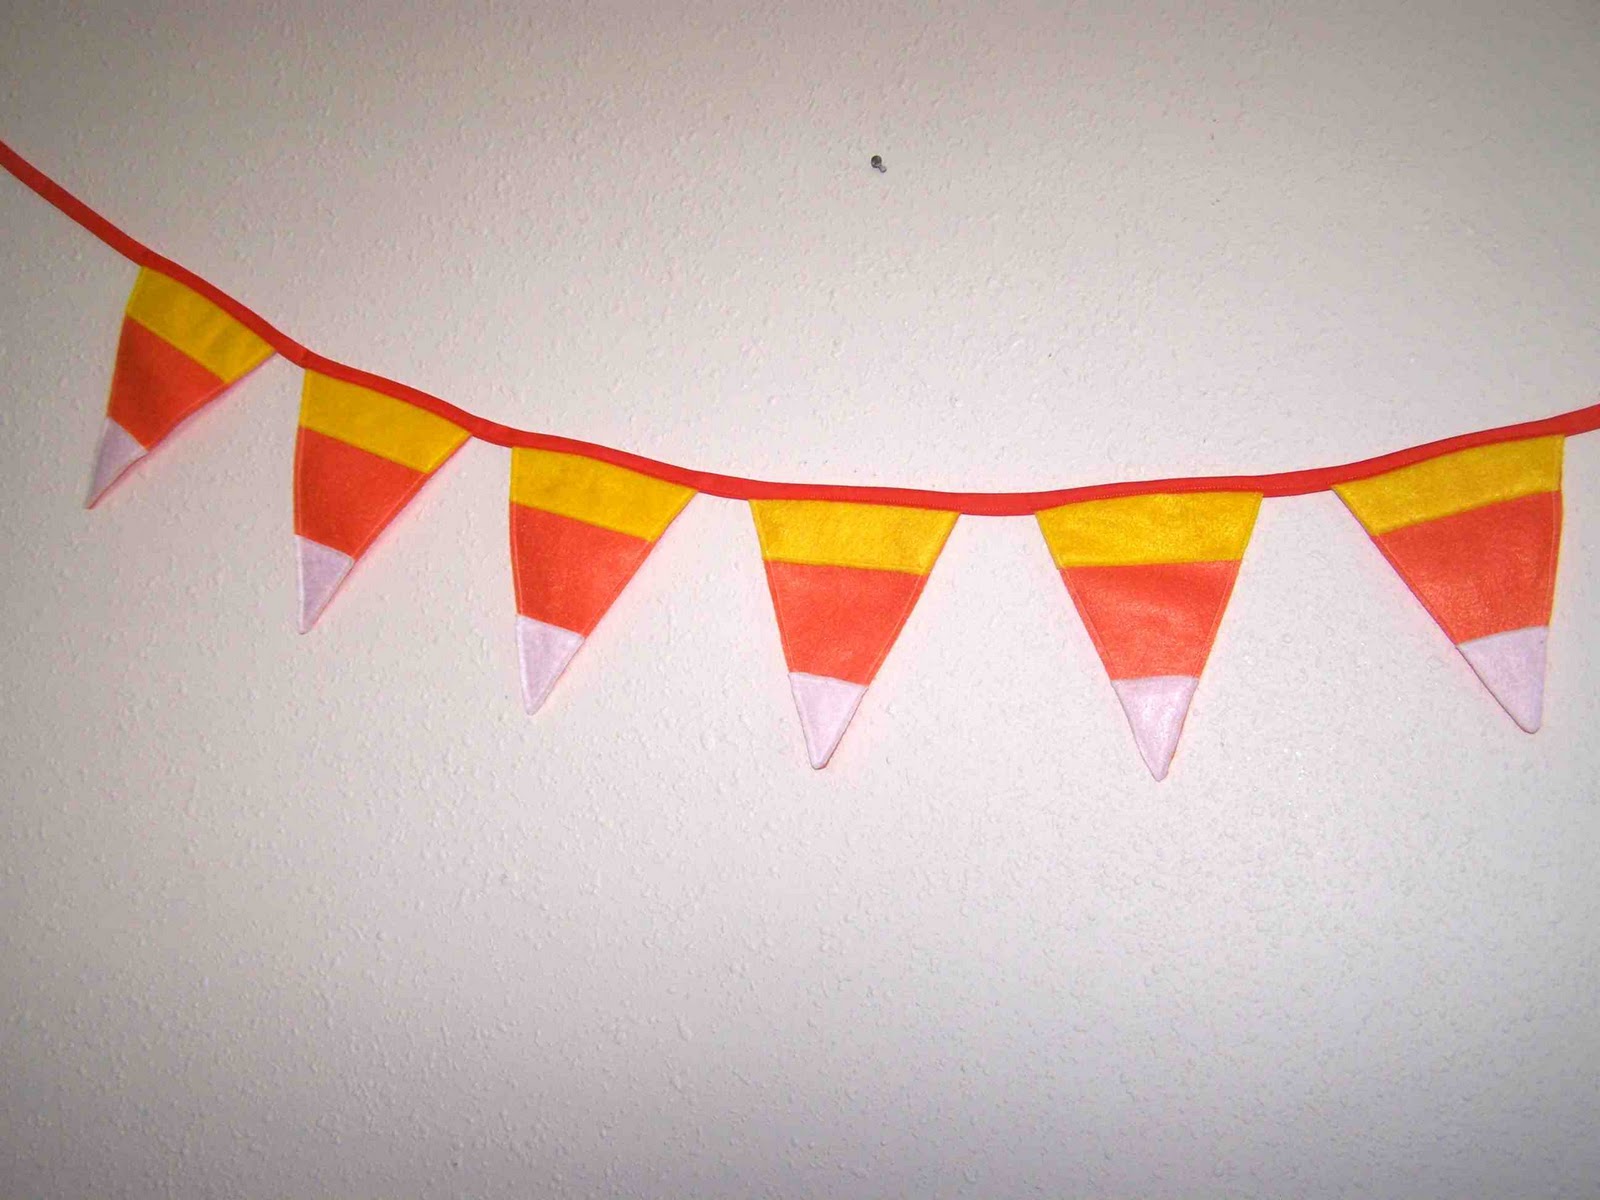
Scallop Garlands aren't anything new, and I won't pretend to be the first one to write up a tutorial for one, but hopefully this low/no sew tutorial will make the construction process quicker, and easier.
No Sew Scallop Garland

Materials:
Bakers Twine (Length of desired garland)
5 inch circles, edges pinked, and pressed in half
Fusible Hem Tape
Iron and ironing board

My garland uses sixteen five inch circles, spaced roughly 1 inch apart, and the total length is approximately six feet.

I used my accuquilt Go! Baby fabric cutter to cut out the circles-super quick and easy. Once my circles were cut out, they were pressed in half, and then pinked around the edges (while folded in half).
To assemble the garland all you have to do is open up your scallops, cut a piece of hem tape that is slightly shorter than the length of your scallop, and place it right up against the fold of the circle. Place your bakers twine on top of the hem tape. The adhesive on the hem tape will keep the twine in place, and secure the two layers of fabric. Close the scallop. Press. Repeat. Like I mentioned, my scallops are roughly one inch apart.

Add done.

A super easy no sew scallop garland. No bias tape, stitching, clipping, or turning required.
Low Sew Scallop Garland

The Low Sew version is constructed in much the same way. Cut your five inch circles, and press in half.

Pink the edges. Doing so will eliminate fraying at the edges of the scallops. I used a pinking blade on my rotary cutter. It makes quick work of it.

Sandwich your bakers twine inside your pressed scallops.

Pin in place.

Sew around each scallop, starting at the folded edge, and stitching 1/4" away from the pinked edge. Backstitch to secure the flags to the bakers twine.

Repeat with all of your flags. Press (I obviously hadn't done that here). Sewing really doesn't take any longer than the no sew version. It's just a preference.
Enjoy. Thanks for reading!