

Welcome to day four of Top-toberfest. Today I'm sharing a tutorial for a DIY Peplum shirt, with a lace yoke. I made the shirt from scratch, but you could easily refashion an existing shirt to make your own peplum.


Materials:
1 1/4 yard of knit fabric, with good crosswise stretch
1/4 yard lace material (not trim)
Shirt to use as guide
Paper for Pattern
Sewing Supplies
*Ribbed knit or stretch trim to finish off sleeves and neckline
To start out, I tried on the top that I was using to create my pattern, I then decided where I wanted my peplum to start (13" down from neckline). I decided on having it sit just below my natural waist. With the shirt on, I measured from the neckline down to below my natural waist, and marked the spot. You will need to add desired seam allowance to this mark + 1/2", and crop your pattern piece. Create front and back pattern pieces for the shirt, and sleeves if desired. For more information on creating your own pattern, see this tutorial.
While you still have your shirt on, decide where you want your peplum to hit, and measure from your waist down to this point. Add seam allowance, and hem allowance if desired.

Next I created a short little circle skirt to attach to my shirt, and serve as the peplum. Rather than using your waist measurement (like I did), measure the circumference of the shirt at the bottom (peplum attachment point). Doing so, your peplum will fit perfectly with your shirt. I made the mistake of using my waist measurement, I then had extra material that I had to account for.
I used Dana's Circle Skirt Tutorial, and DID NOT add extra inches to the waist measurement. We're sewing with knit here, and knit stretches.
My peplum skirt is about 9 1/2 inches long, but you can decide how long you want to make it.

Cut out your circle skirt.

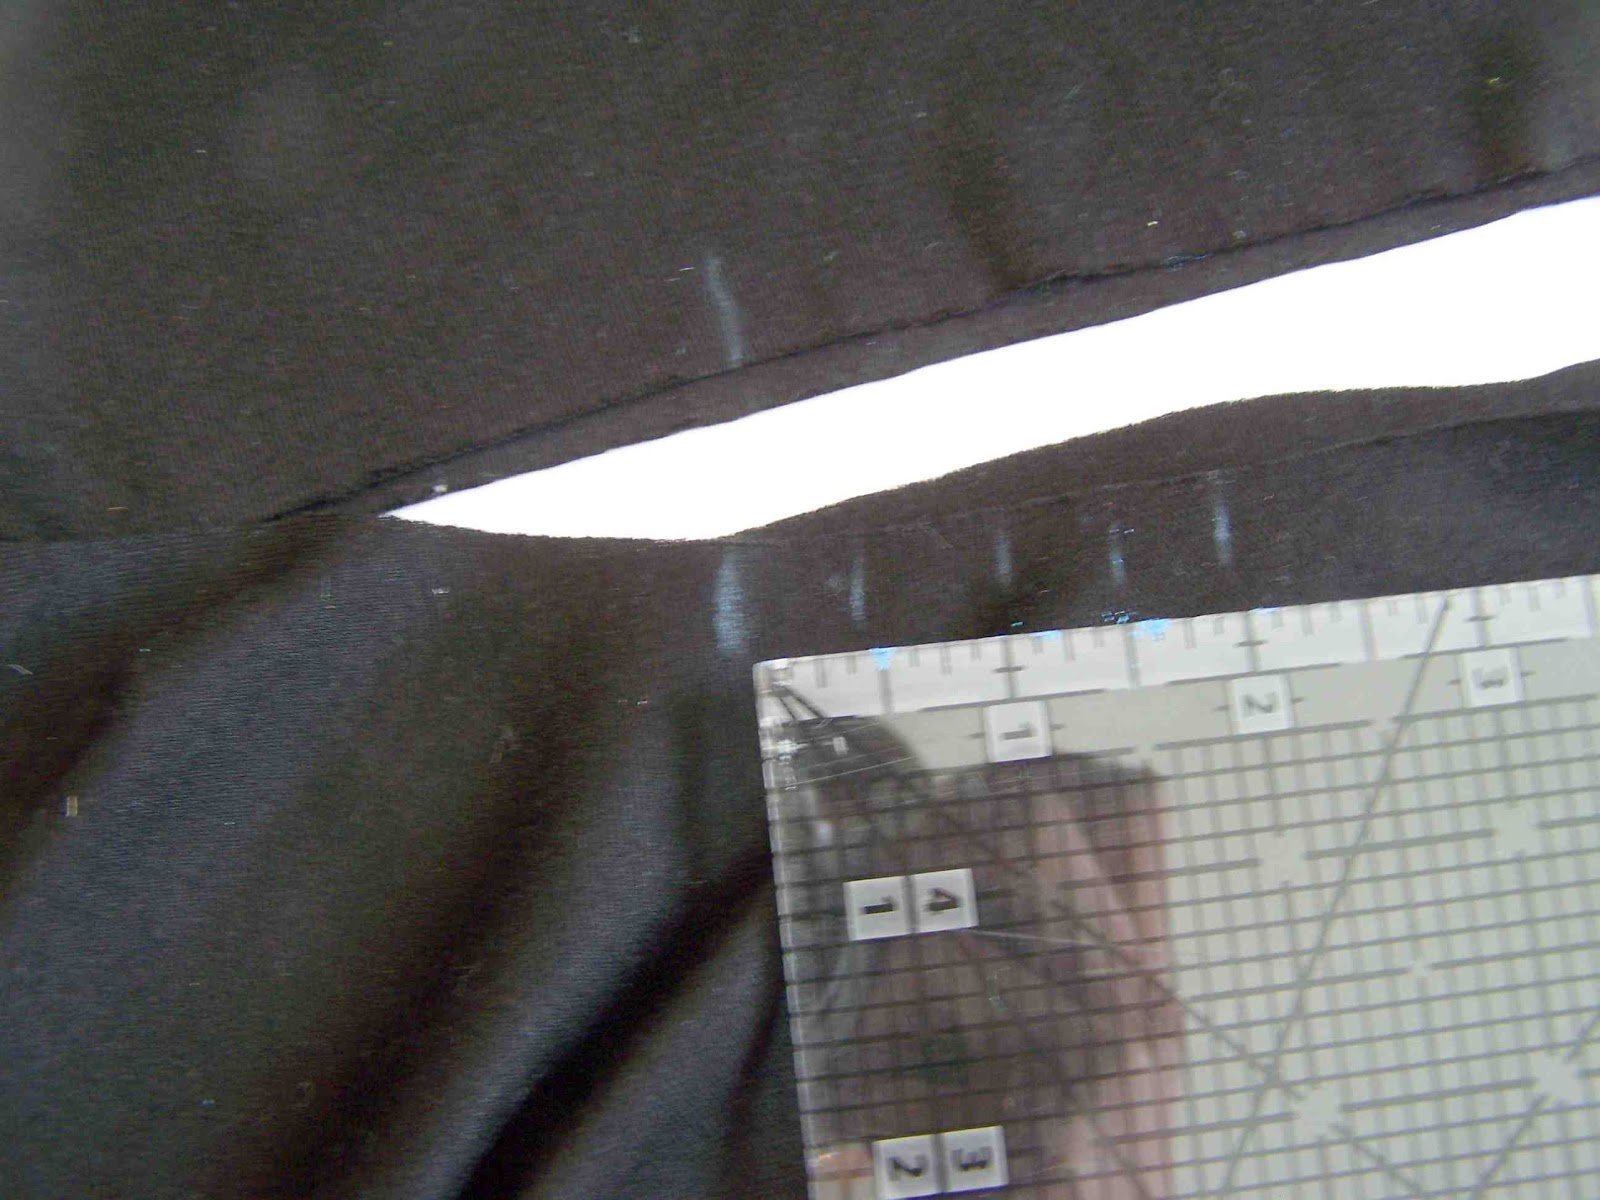
Next we are going to divide our shirt pieces to create the lace yoke. I measured 3 inches down from the front neckline. And cut my back pieces to match up. By bisecting your shirt this way, you will be losing about 1/2 inch material, which is why we added it in the beginning. If your lace doesn't have any stretch to it, then I highly recommend ending your lace block above the bust. You want your knit material to still have some stretch to it.

Next, cut out lace yoke pieces slightly larger then your front and back yoke pieces.

When all of the cutting is done, you should be left with: peplum skirt, front and back knit and lace yoke pieces, bottom portions of front and back shirt pieces.

Place your lace yoke pieces over the knit yoke pieces. Stretch the lace so that it lays flat on the knit pieces. Pin in place.

Stitch 1/8" away from raw edges to secure lace.

Place the right sides of the yoke pieces with the right side of the bottom shirt pieces (front, and back), and stitch together.

Match up shoulder and side seams with front sides together. Sew in place.

Finish off the sleeve and neck openings. I used a tight stitch on my serger to overcast the raw edges. You could also attach an elastic trim, or use a ribbed knit if you'd like.

Now it's time to attach our peplum to our shirt. Like I said earlier, I had some extra material to account for. In order to take it in, I created two small box pleats. I first decided where on the front of the shirt I wanted the box pleats positioned (3 1/2" in). I made a small mark on the front of the shirt on either side.
I had two inches of material to account for, so I had to take in 1 inch of material on each box pleat. I first measured in from the side of the peplum 3.5", and made a mark. I then made four additional marks, each 1/2 inch apart, to show me where my folds and creases needed to be.

My outside marks, met up in the middle mark. I pinned the pleats in place.

Stitched them down.

I then matched up my pleats with the markings on the front of my shirt, and pinned the skirt in place.

Assuming that your skirt is perfectly cut, you'd find center points on the skirt opening, match them up with side seams, and pin the skirts raw edge to the shirts raw edge, right sides together.


Tips: Use a ballpoint or stretch needle when sewing with knits. If serging your seams, consider using bulky nylon in your loopers, it offers greater stretch. Try not to let your material hang off your sewing table while cutting or sewing your knit fabric, it will stretch the fabric, and distort your seams.
5 comments:
This is such a fun, pretty shirt. I love how you added lace without making it too frilly. If you lengthened the circle part or added a skirt underneath it would also make a beautiful dress. =)
Oh so pretty! Love the white lace with the black and the peplum is at the perfect place. You look gorgeous in these pictures!
This is very fashionable and fun for FALL! I haven't worn a peplum style shirt before, but this one looks great! Thank you for the tutorial!
Jenny
Seamingly Smitten sewing patterns
www.seaminglysmitten.com
This is just way to cute.I have been a follower for a while and have learned alot from you Thank-you so much for all you do.Becky
That is so cute!
Post a Comment