

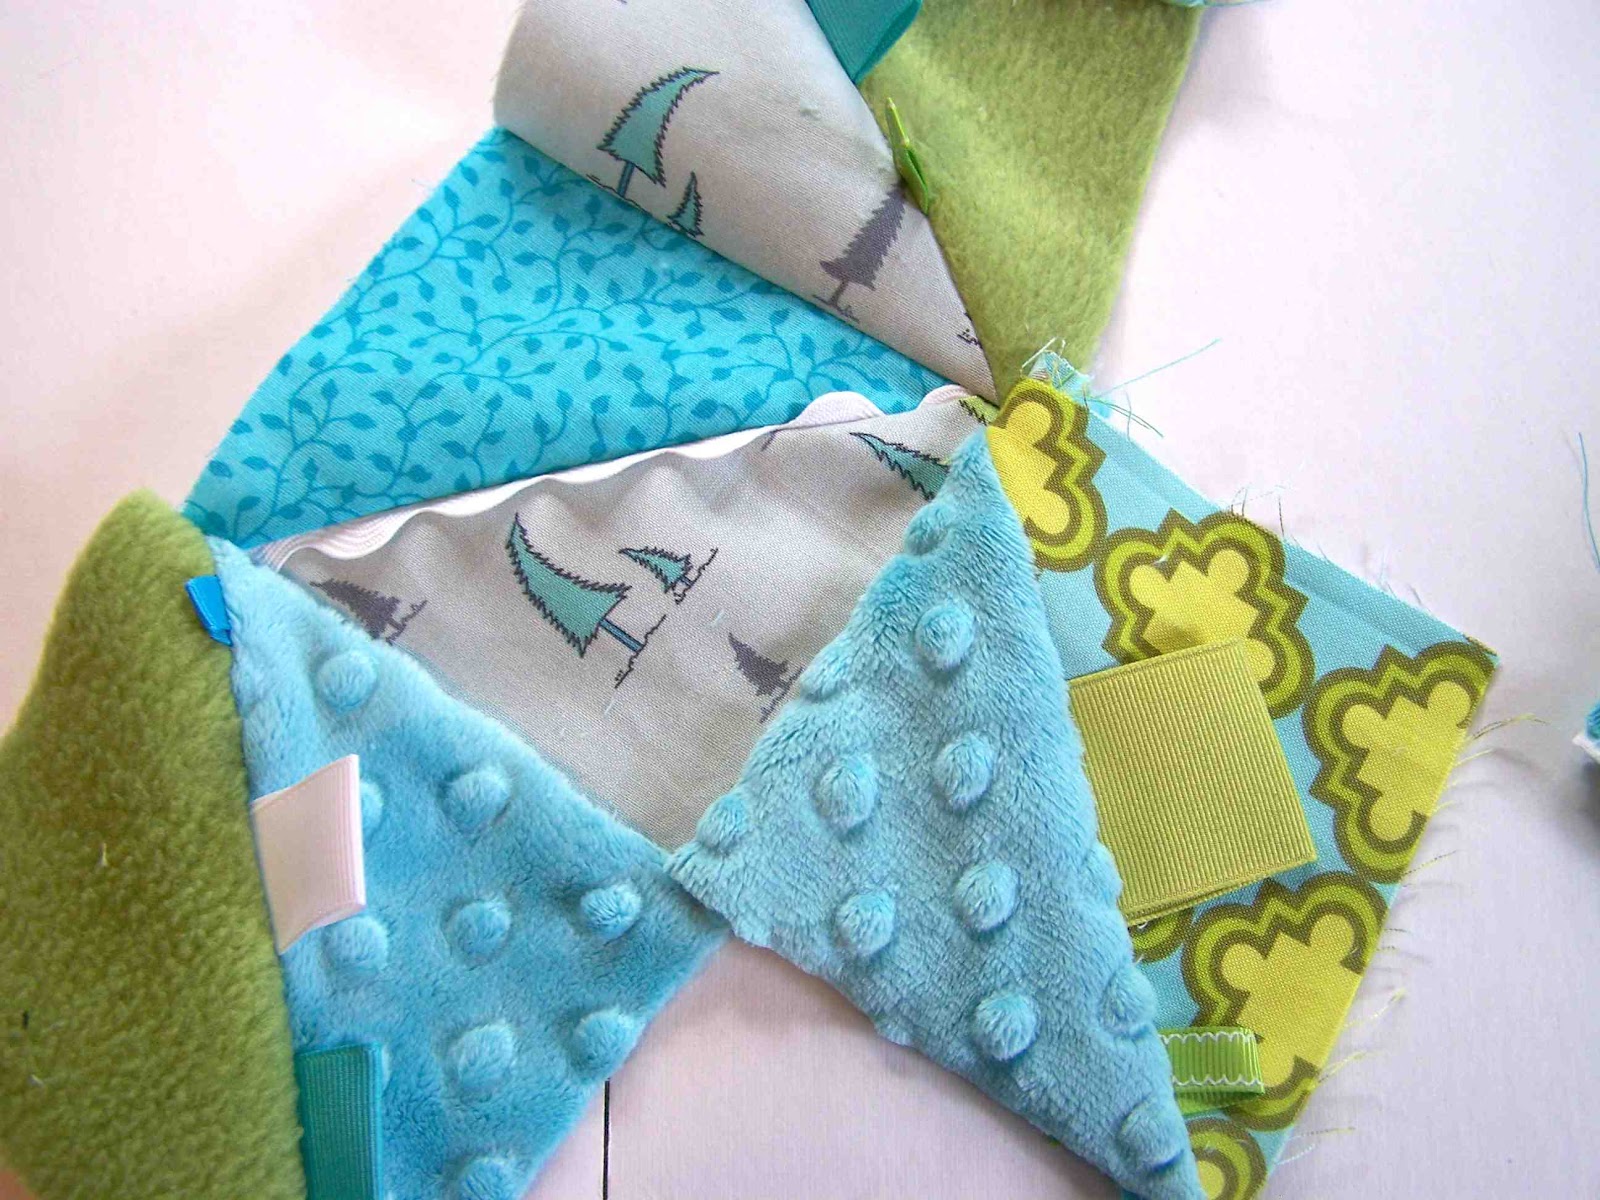
I decided that it was time to put some of my coordinating scrap fabrics to good use, and a sensory block seemed like the perfect fit. The sensory blocks are made out of fleece, minky, and quilters cotton. The variety of materials will stimulate those little fingers as baby explores different textures. I also added scrap piece of ribbon to the half square triangle seam allowances. Inside the block: plastic bags for a big of a crinkle, and a couple of small bells.
I used my Accuquilt Go! Baby fabric cutter to cut out several half square triangles. You don't necessarily need a fabric cutter for your half square triangles, but it can make the whole process much faster and easier (especially since the seam allowances are already added to the triangles. You could also, make the sensory blocks out of plain old regular squares, and add the tags to the side seams.
Read More

Materials:
12 Half Square Triangles
Scraps of ribbon, or trim
1-2 jingle bells
plastic grocery bags (I used about 7).


Sandwich 2-3 ribbon pieces along your diagonal seam allowance. The pressed edge of the ribbon should face down.

Place your top layer of material on top of the ribbons. You can pin the ribbons in place at this point.

Sew the seam, securing ribbons as you sew.

Trim ribbon to seam allowance length, and press open the seams.

Repeat the process with the remaining 10 hst, resulting in 6 finished blocks.

Create a four block row by sewing side seams.
Attach one block to the bottom of your second block in your row.

Attach another block to the top side of the second block. Your blocks should now form a cross shape.

Sew the side seams closest to each other together, using the second block in the row as the bottom of your cube. The fourth block in the row (or the bottom of the cross), will end up being the top flap of the cube. Seams should be sewn with fabric right sides together.

When you have only the top flap remaining, sew two seams, and leave one end open for turning the block right side out. Turn right side out, and push out the corners to a crisp point. Clip your corners if necessary.

Fill your block with plastic bags, bells, crinkly wrappers, etc.

Stitch the block closed using a hand sewing needle and thread.

Thanks for reading!
2 comments:
I like it! Some day I will have a sewing machine and will be able to try stuff like this. You make the cutest things. I always wish I had a sewing machine when I read your blog.
How fun!
Post a Comment